
Custom Vending Machine Keypads That Fit Your Machine and Your Customers
Your customers should be able to choose a product without thinking about the keypad. And your team should not have to redesign a cabinet around one. Keypado manufactures custom vending machine keypads with metal keys, layouts that match your selection process, and mounting details made for your enclosure. Tell us how customers enter a product code, where the machine will operate, and what your controller needs to receive. We will work with you on the key arrangement, panel, connection, and finish. The result is a keypad that feels like part of your vending machine, not a component added at the last minute.
사용자 지정 받기 견적
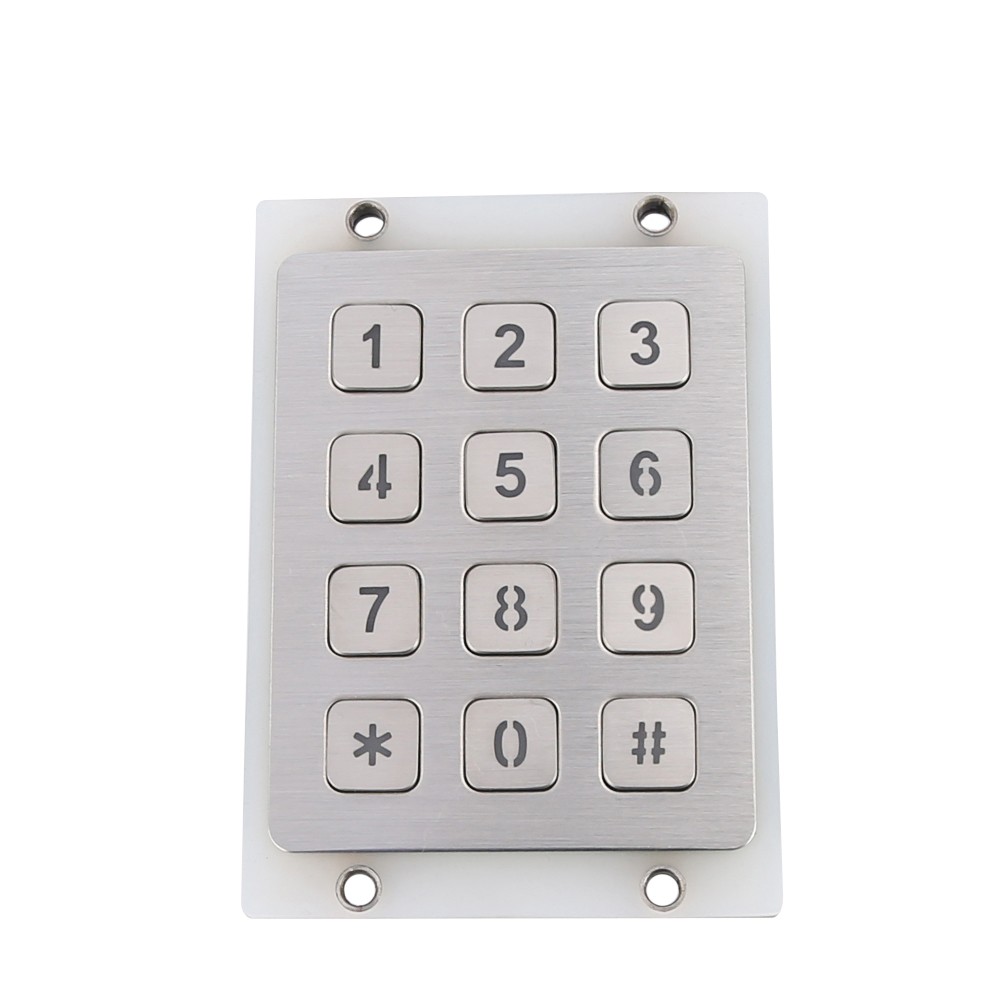
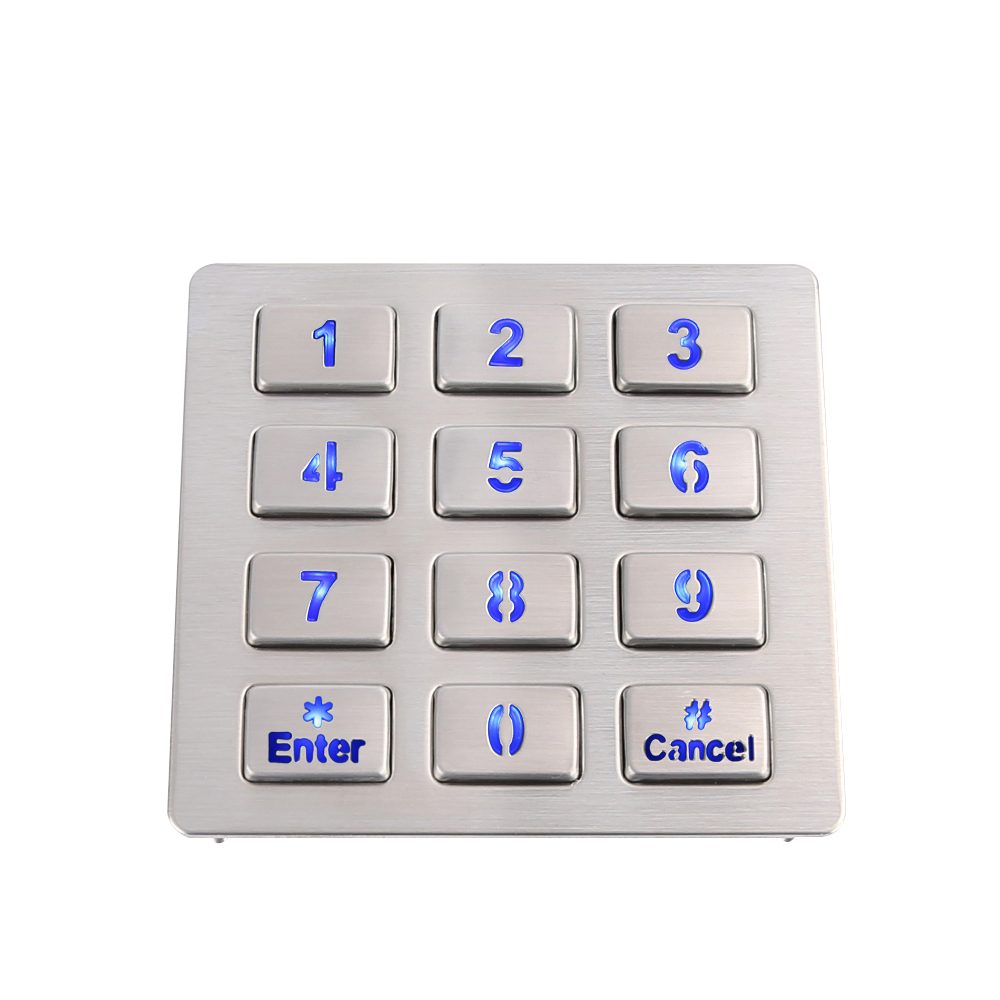
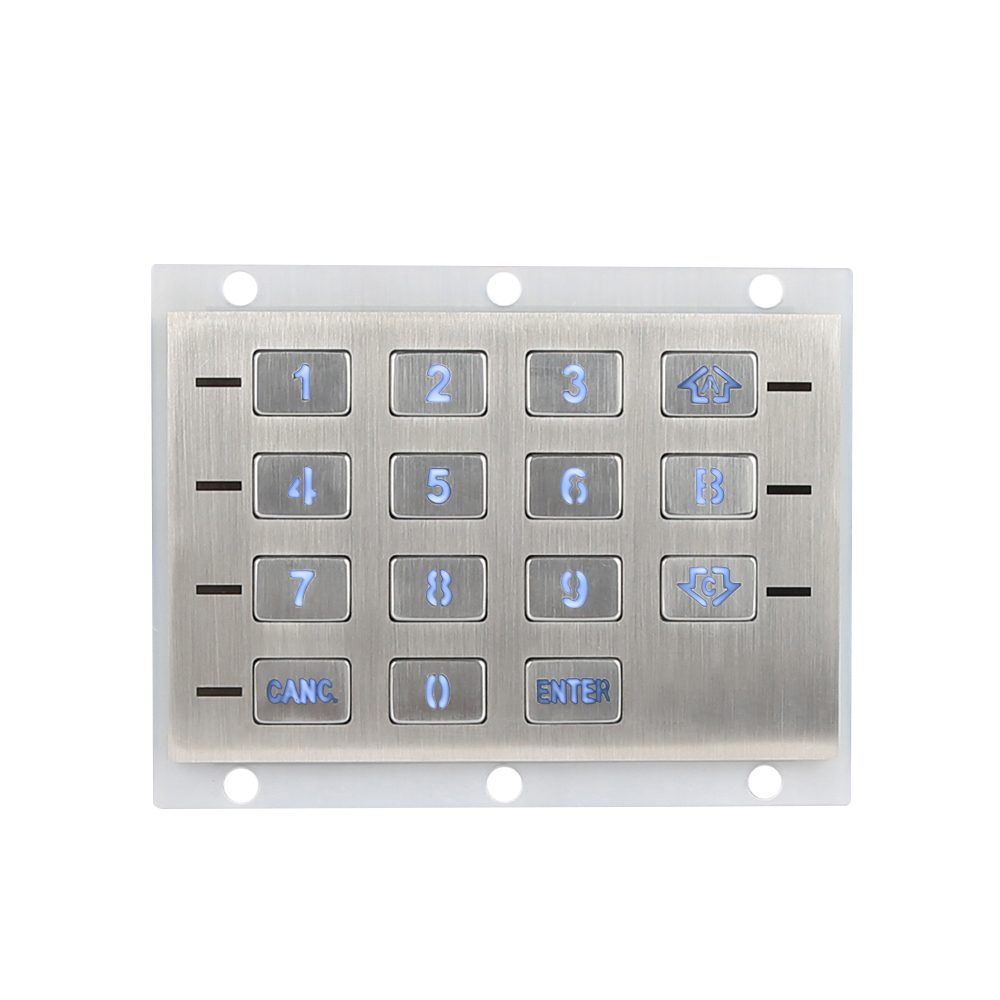
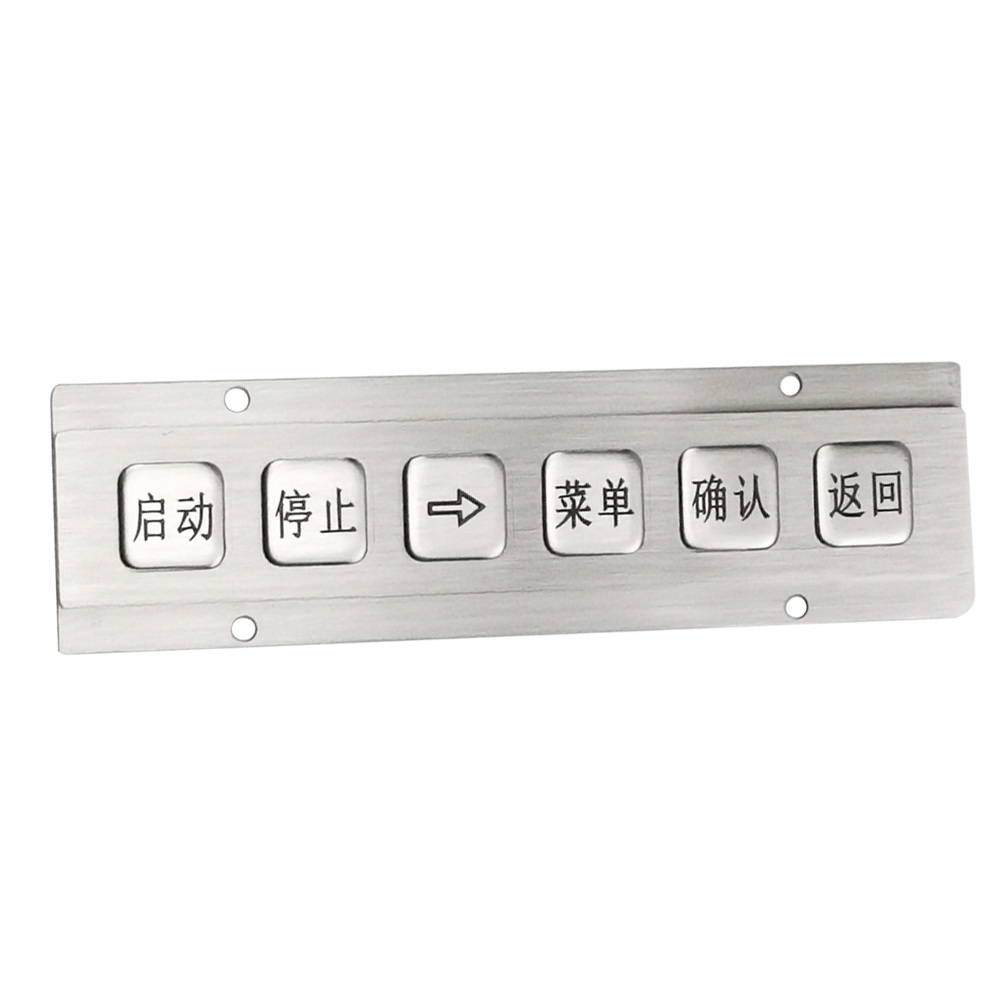
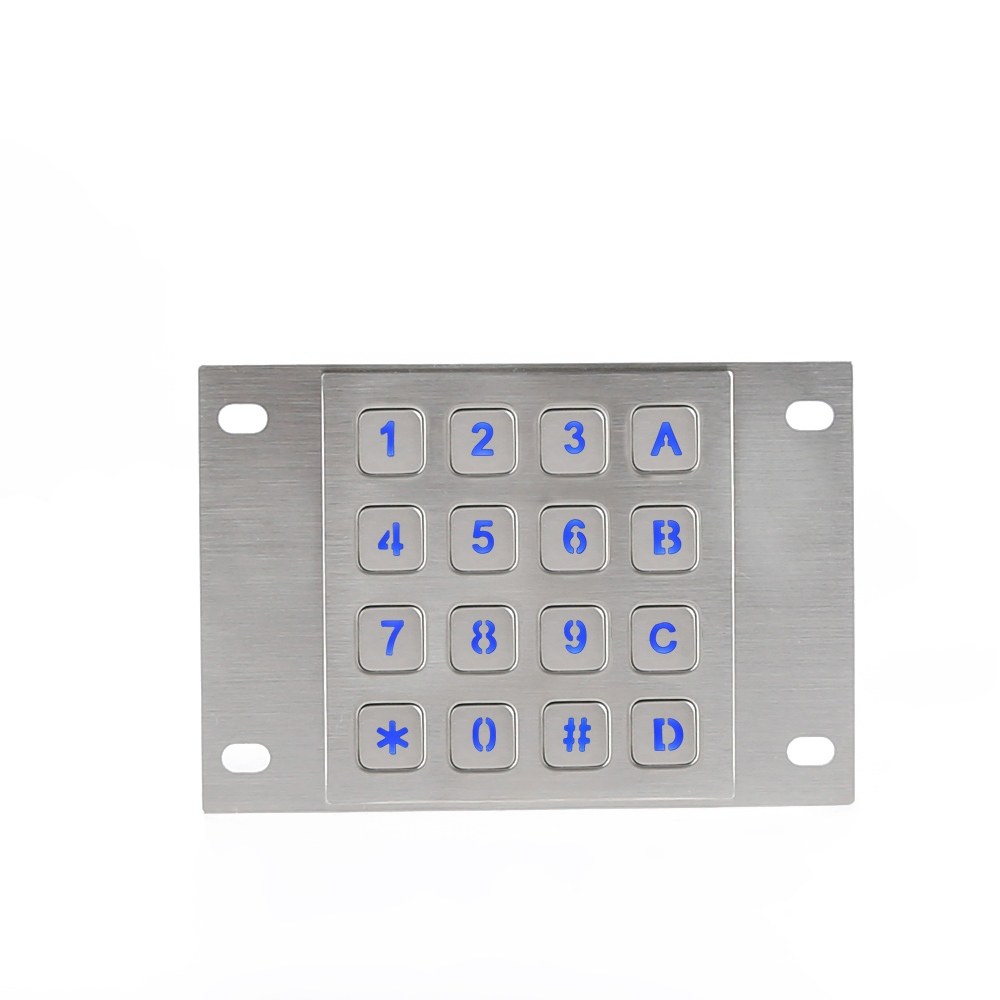
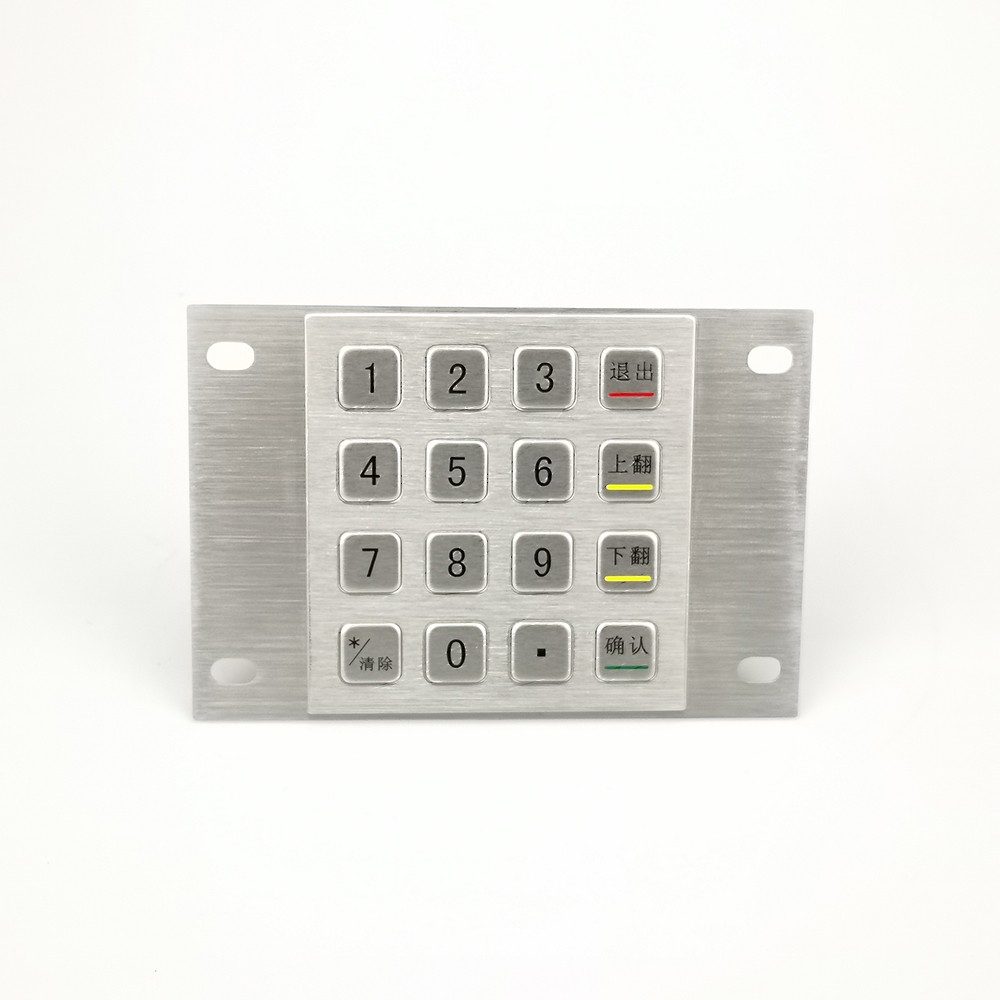
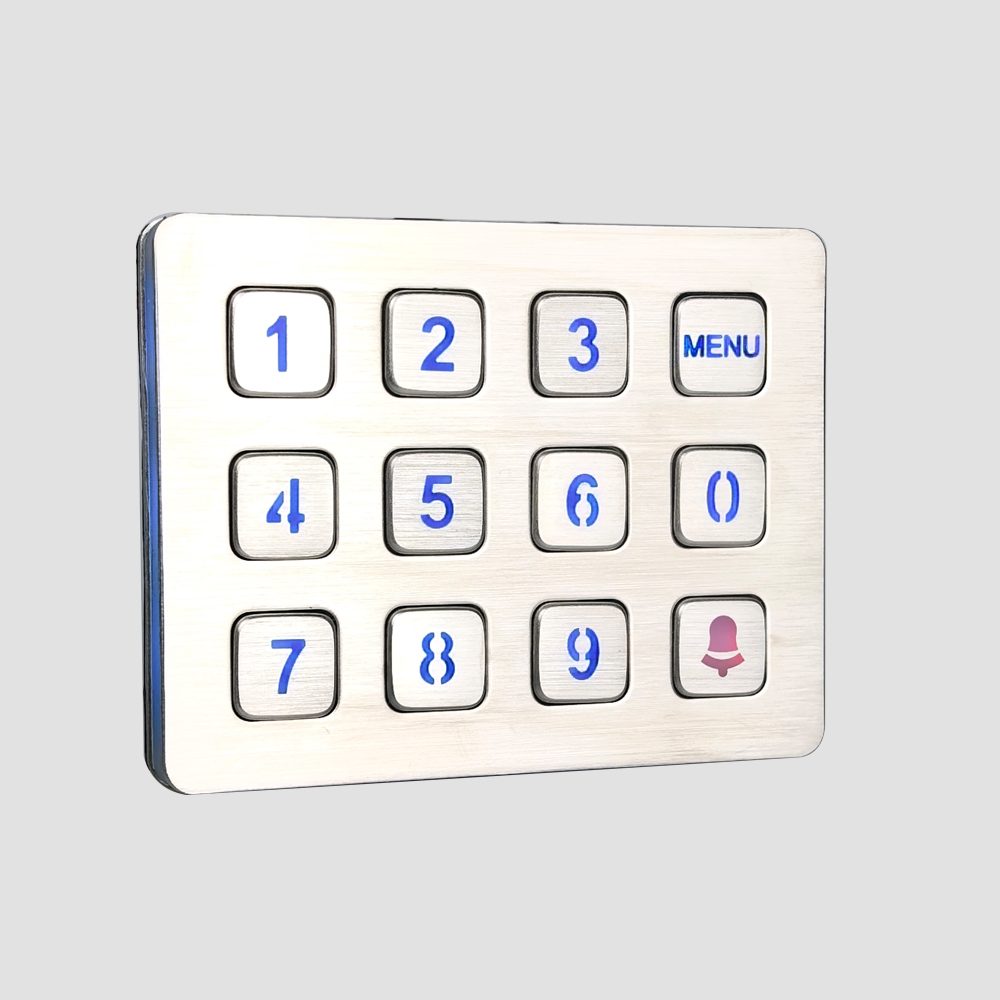
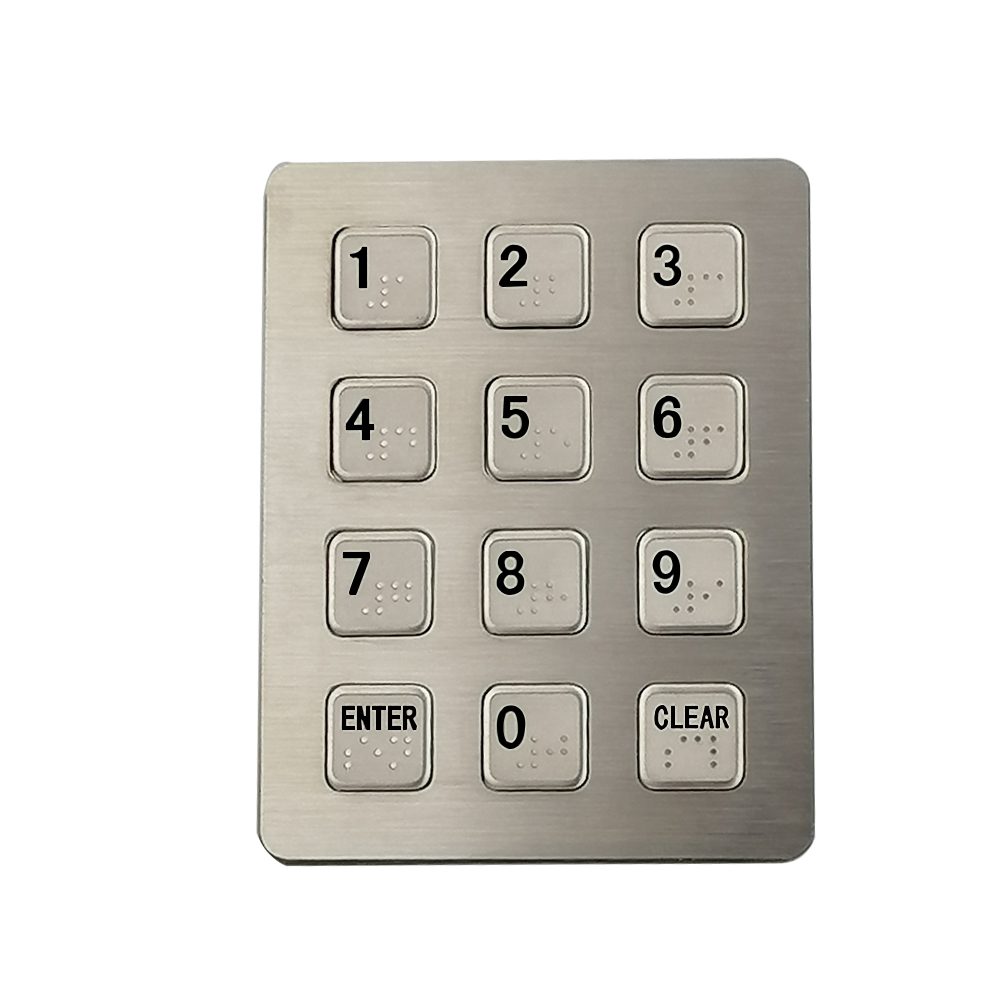
Selection made simple
Arrange numbers, letters, and function keys around the way customers actually buy from your machine.
Metal where hands meet the machine
Stainless steel or other suitable metal construction gives exposed keys a durable, professional finish.
A fit you can plan around
Customize the panel, cutout, and mounting details to suit your cabinet.
Connections that make sense
Define the key map, cable, and connector around your controller before production.
Visibility when it matters
Add backlighting where customers need to use the machine in dim surroundings.
Less compromise, better fit
Your machine has its own design. Its keypad should, too.
A keypad built around your selection process
Start with the customer interaction. We will help turn it into a keypad your team can build into the machine.
Key layout and markings
Metal and appearance
Size and mounting
Electrical connection
Key layout and markings
- Choose a numeric layout, letter and number selection, or dedicated function keys.
- Match key legends to the instructions on your display.
- Review key size and spacing for comfortable, confident input.
Metal and appearance
- Specify metal keys and a front panel suited to the machine’s location and design.
- Choose a finish that works with the rest of your cabinet.
- Discuss engraved legends for frequently used keys.
Size and mounting
- Share your panel opening, available depth, and fixing locations.
- Develop the keypad for front or rear mounting where the cabinet allows.
- Check the proposed fit against your drawing or existing machine.
Electrical connection
- Define the key map and output your controller expects.
- Confirm cable length, pin assignment, and connector during development.
- Discuss backlighting and its power requirements if needed.
키파도 애플리케이션
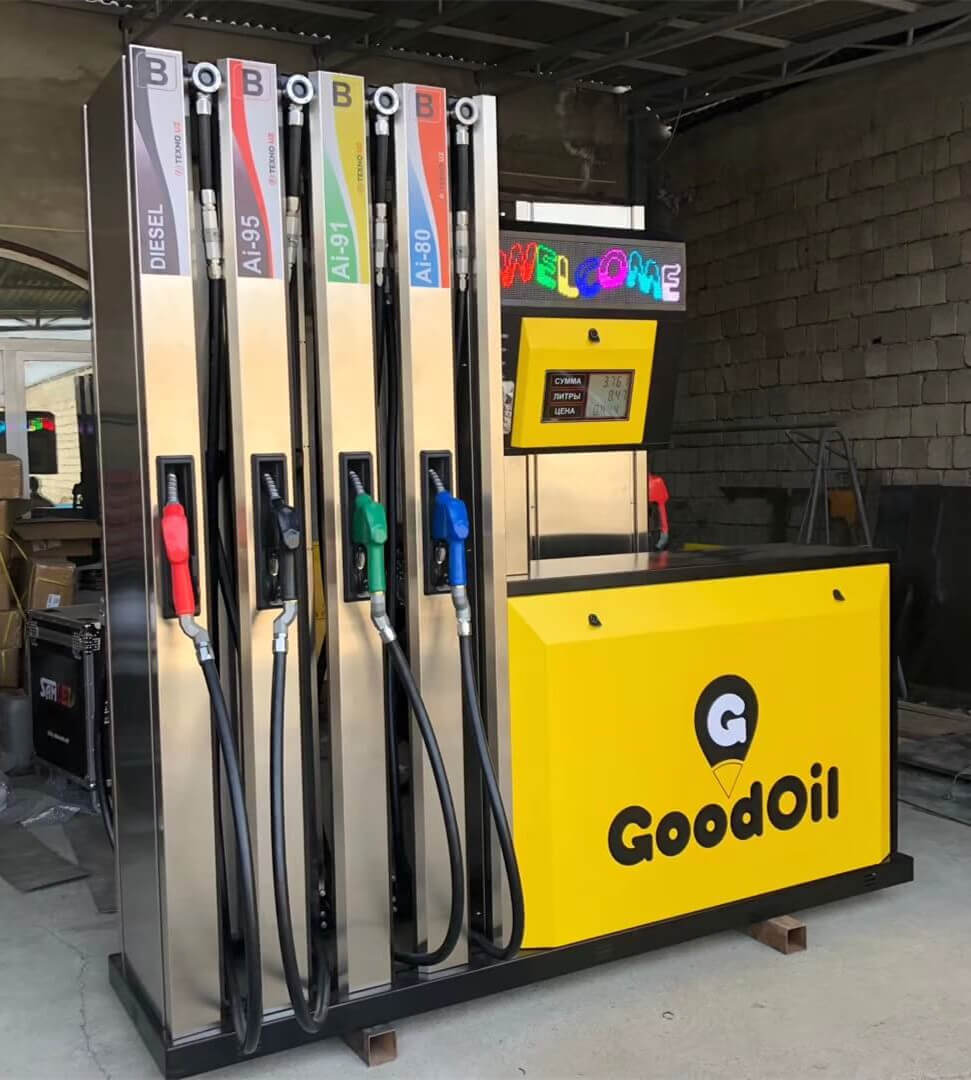
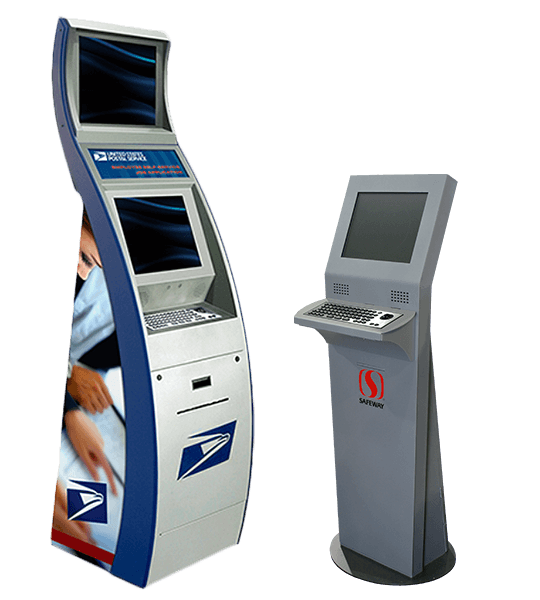
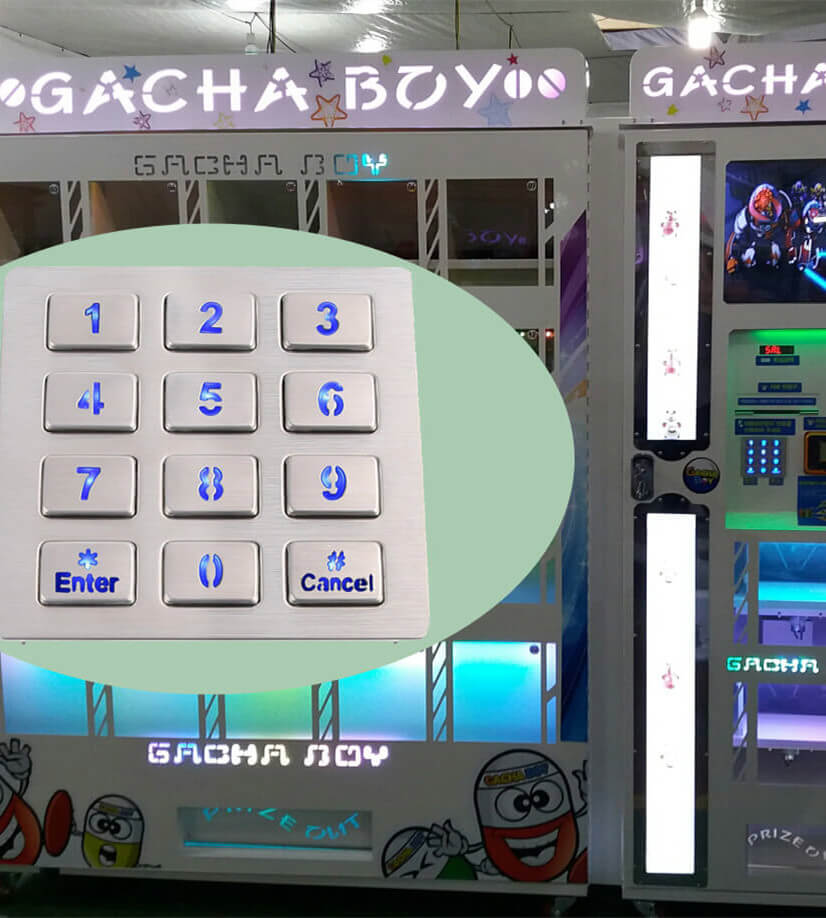
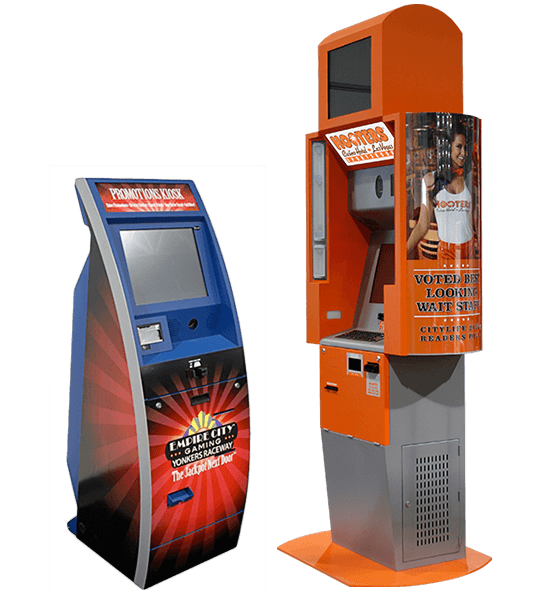
키파도를 선택해야 하는 이유
Make the first press feel right
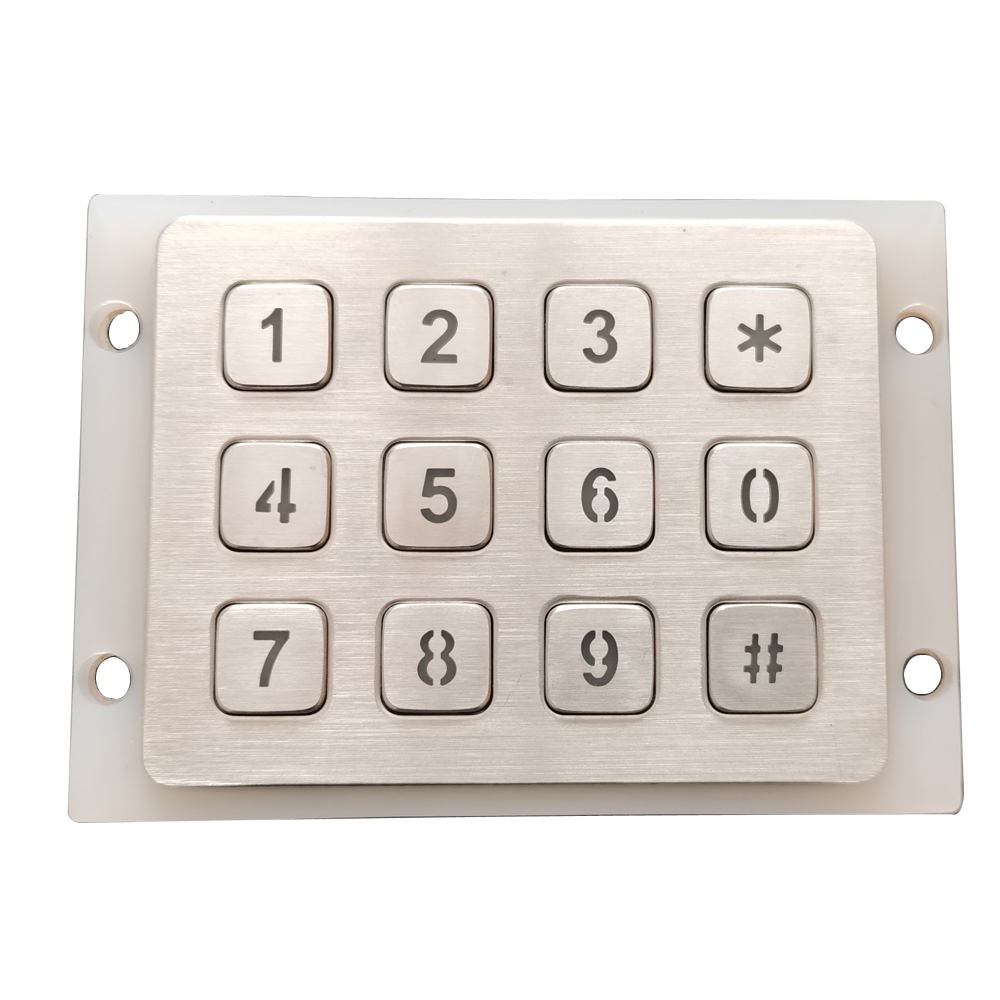
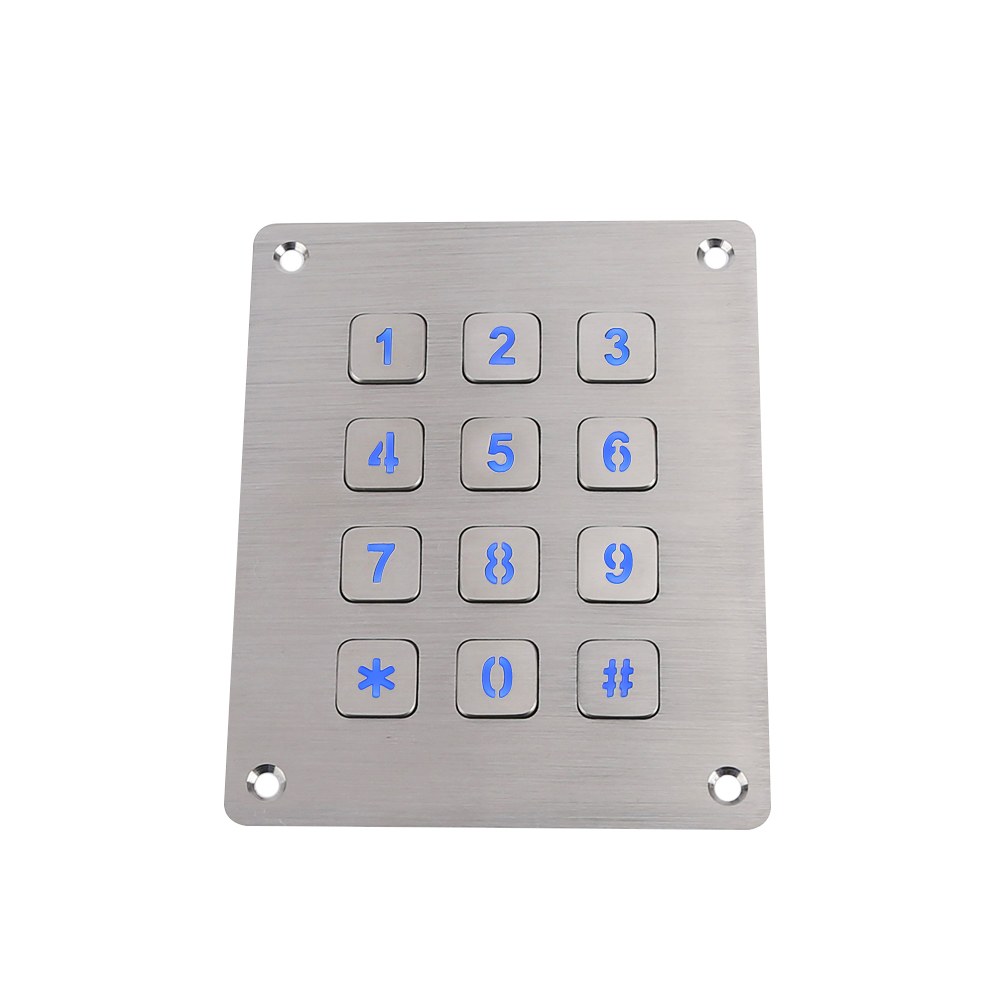
A customer standing at a vending machine wants a quick, clear choice. That is why we begin with your selection flow, not a standard key count. If your screen asks for a product code, the keypad should make that code easy to enter. If it uses dedicated functions, those keys should be easy to find. Common 3 × 4 and 4 × 4 layouts can be useful starting points, but they are not the only answer. We can review the arrangement, legends, spacing, and key feel with you before the design is finalized.
Give the cabinet a finished look
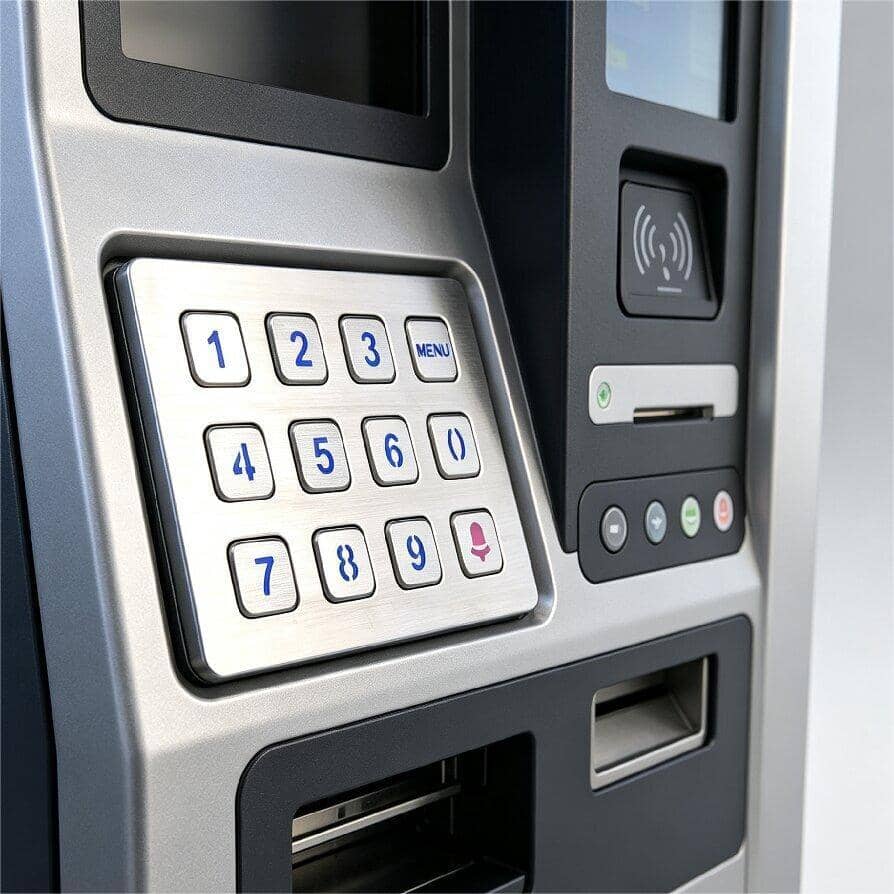
The keypad is one of the few parts of your machine that every customer touches. Metal keys and a metal front panel provide a solid contact surface and a clean appearance for public use. You can discuss stainless steel construction, key shape, surface finish, and engraved markings as part of the overall cabinet design. Just as important, the panel should sit properly in the opening and leave room for fixing and wiring behind it. Send us your cabinet drawing or an existing sample, and we can work from the details that matter to your assembly team.
Connect it to your controller, not just your panel
A good mechanical fit is only half the job. Your controller also needs to read each key correctly. We can review a matrix layout, key mapping, pin assignment, cable, and connector against your electrical requirements. If your project calls for an encoded interface rather than a matrix connection, let us know early so the right approach can be assessed. The same applies to illuminated keys: their appearance and power needs should be agreed before the design is approved. This avoids discovering an interface mismatch after the cabinet is ready.
Build for the place it will be used
An office vending machine and an outdoor unit do not face the same conditions. Tell us about rain exposure, dust, cleaning, temperature, and expected use so we can discuss a suitable construction and sealing approach. If your project needs an IP protection target, we should define what is being tested, particularly at the installed front panel. We can then review the sample against the agreed fit, key operation, appearance, and electrical requirements. You get a specification tied to your machine, rather than a list of impressive numbers borrowed from a different design.

From your idea to a production keypad
A straightforward path, with the important details settled early
Show us the machine.
Send a cabinet drawing, cutout dimensions, or an existing keypad sample. Tell us what customers enter, what the display shows, and whether the machine will be installed indoors or outdoors. We will also ask about your controller connection, preferred materials, and expected order quantity. You do not need to arrive with every detail decided. A clear picture of the machine and its customer journey is enough to start a useful technical conversation.
Shape the keypad together.
We will discuss the number and position of keys, the wording or symbols on them, and how the panel should sit in the cabinet. Then we can work through mounting, finish, wiring, connector, and optional illumination. If you have a target for dust or water protection, this is the time to define it. Before moving ahead, your team should be able to review the same mechanical and electrical design that we intend to make.
Try it in the real machine.
A drawing can show dimensions; a sample shows how the keypad actually feels and fits. Install it in your cabinet, press every key, and confirm that the controller receives the expected input. Check the legends against your screen prompts and make sure the cable and fixing points are convenient for assembly. If something needs changing, we can update the design before it becomes the production reference.
Build to the approved version.
Once you approve the sample and its documentation, we can prepare production around that agreed configuration. Key layout, markings, panel details, and electrical connections should all follow the approved version. If you use similar keypads across several vending models, we can discuss how to distinguish each variant clearly. That makes purchasing, assembly, and future reorders easier to manage.
자주 묻는 질문
Yes. Send us the cutout dimensions, panel thickness, fixing positions, and the space available behind the panel. A drawing or existing sample will help us review the fit more accurately.
No. Those layouts are useful starting points, but the right arrangement depends on how your customers select a product. Tell us what appears on your display and what each key needs to do.
Yes, we can discuss a layout that supports your product codes and selection sequence. We will review the legends and key map together so what customers press matches what your controller reads.
Stainless steel is a practical option for exposed keys and front panels, and other metal constructions can be discussed for a specific design. The best choice depends on the appearance you want and the conditions the machine will face.
Backlighting can be considered if customers will use the machine in low light. Let us know the look you want and the power available in your machine so we can assess it as part of the complete design.
That is one of the first things we should check. Share your controller’s input requirements, key map, connector details, or wiring diagram, and we can review the appropriate keypad output with you.
It can be designed with outdoor use in mind, but the required protection should be specified for your project. Tell us about exposure to rain, dust, cleaning, and temperature so we can discuss the construction and any agreed testing.
Yes. Panel shape, finish, key arrangement, and markings can all be reviewed alongside your cabinet design. A drawing or product photo helps us understand the appearance you are aiming for.
Install it in the machine and check the fit, key feel, legends, and every electrical input. Also confirm that the cable, connector, and fixing method work for your assembly process.
Send the layout or number of keys, cabinet dimensions, controller requirements, installation environment, and estimated quantity. If you already have a drawing or sample, include it; if not, we can start with your machine’s basic requirements.
몇 가지 흥미로운 사실
글로벌 파트너와의 협업
 English
  Deutsch
  Français
  Polski
  Português do Brasil
  Español
  日本語
日本語  Русский
  العربية
  Italiano
  Nederlands
  Türkçe
  한국어
한국어