
Custom Self Check-In Keypads That Make Arrivals Feel Easier
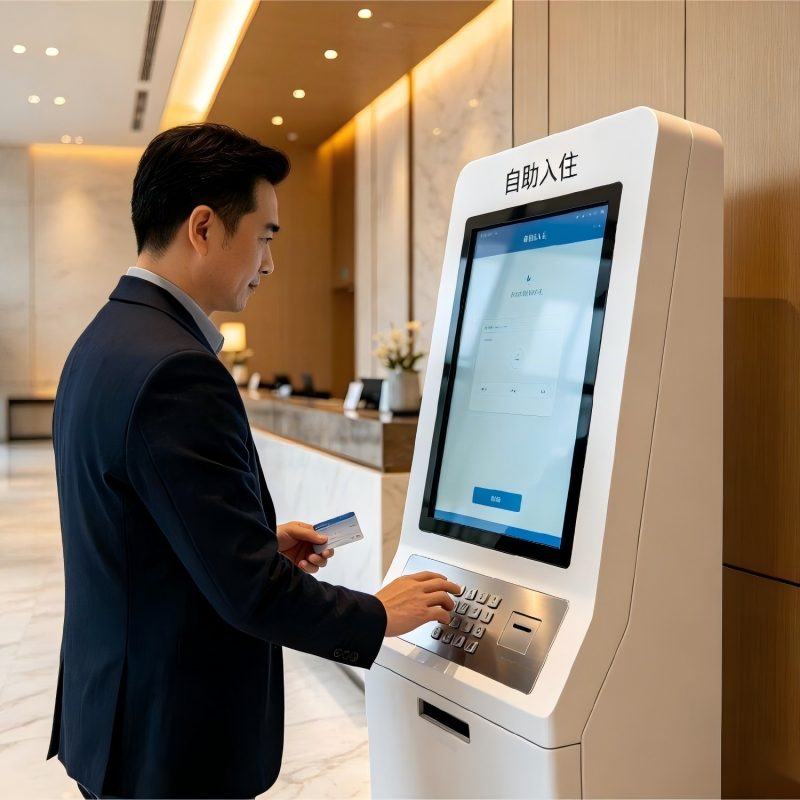
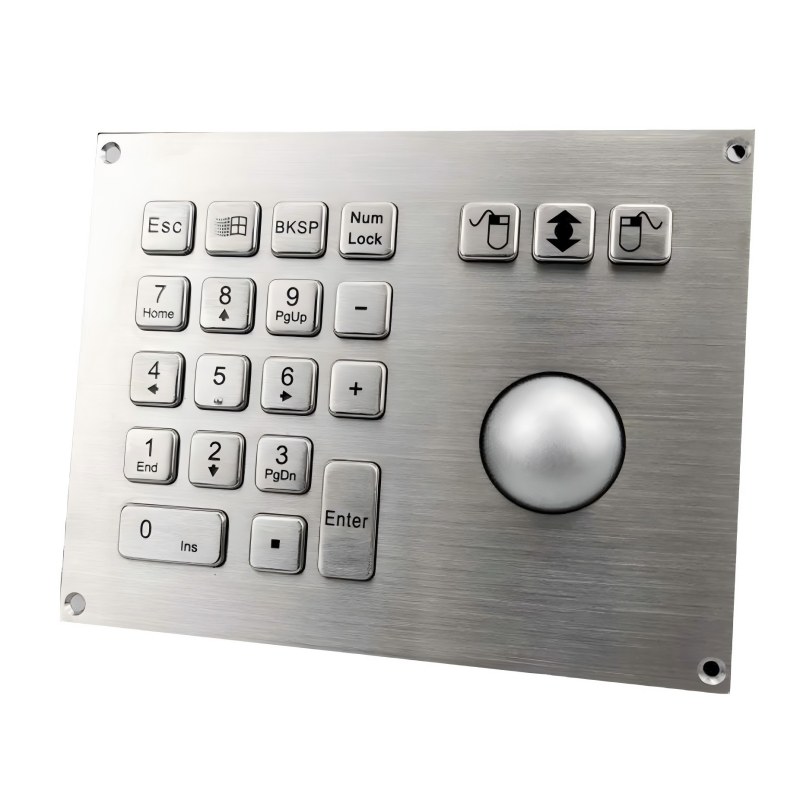
A guest reaches the kiosk with a reservation number in hand. The keypad should make the next step obvious. Keypado manufactures custom self check-in keypads for hotel arrival kiosks and other unattended registration terminals. We can shape the metal keys around your booking lookup and confirmation flow, then work with your team on panel size, mounting, markings, and controller connection. If the kiosk also includes a scanner, card dispenser, or payment terminal, we will consider how the keypad fits alongside them. The goal is a physical input point that feels natural to use and practical to build into your machine.
Personalizar Cita
Principales características y ventajas
A smoother welcome starts with the first press.
Easy reservation entry
Give guests clear keys for booking numbers, room codes, or other information your check-in flow requires.
A reassuring physical response
Metal keys provide a distinct press when guests need to enter information with confidence.
Made for your kiosk face
Specify the panel size, key positions, and mounting to fit around your screen and other devices.
Clear function keys
Add Enter, Clear, or Cancel where they help guests move through the process.
Built with integration in mind
Agree on the key map, output, cable, and connector with your engineering team.
Visibility where you need it
Discuss illuminated keys for dim lobbies or terminals used after hours.
Design around the arrival
A check-in keypad should support what your guests see on screen, not ask them to learn a separate set of controls.
Keys and guest prompts
Appearance and materials
Position in the kiosk
Output and illumination
Keys and guest prompts
- Choose a numeric layout for reservation codes or a wider layout if your process calls for letters.
- Specify Enter, Clear, and Cancel keys to match your software prompts.
- Review key spacing and legends for quick use by first-time visitors.
Appearance and materials
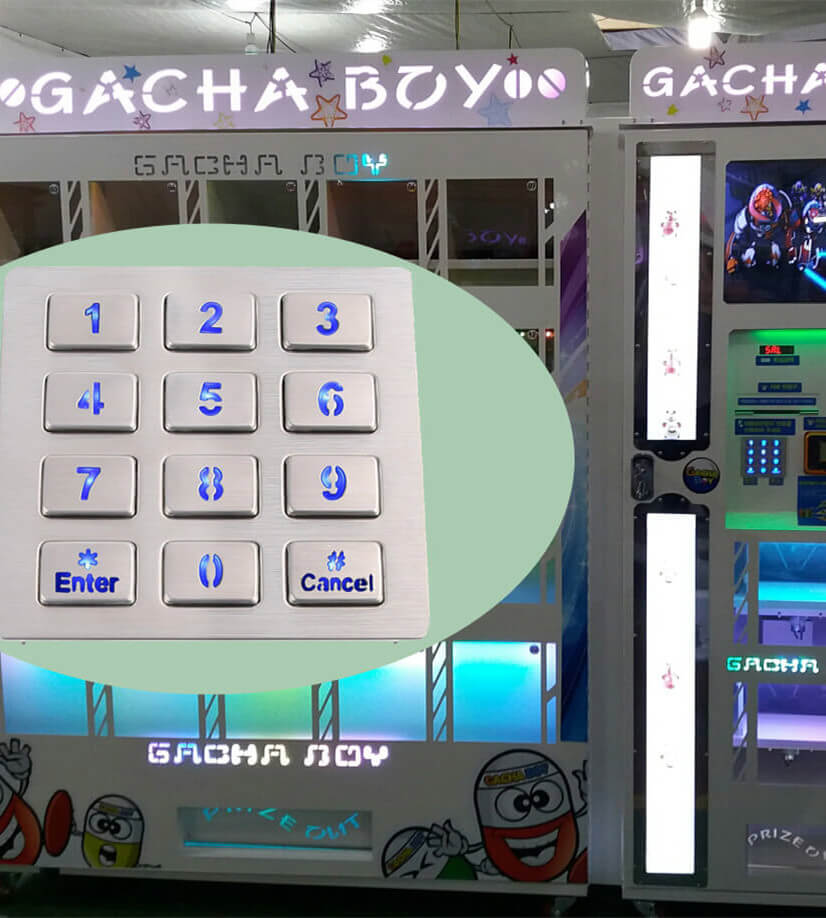
- Discuss stainless steel keys and a metal front panel for a frequently used public terminal.
- Choose a finish that suits the kiosk enclosure and the setting where it will stand.
- Review engraved markings and tactile details where your project calls for them.
Position in the kiosk
- Set the panel dimensions and fixing points around your screen, scanner, and card dispenser.
- Confirm a mounting approach that leaves room for assembly and service.
- Plan the cable route before the enclosure design is released.
Output and illumination
- Share the input format your kiosk controller or computer expects.
- Define the key map, wiring, and connector for the approved configuration.
- Discuss backlighting if keys need to remain easy to find in low light.
Aplicaciones Keypado
Por qué Keypado es su mejor opción
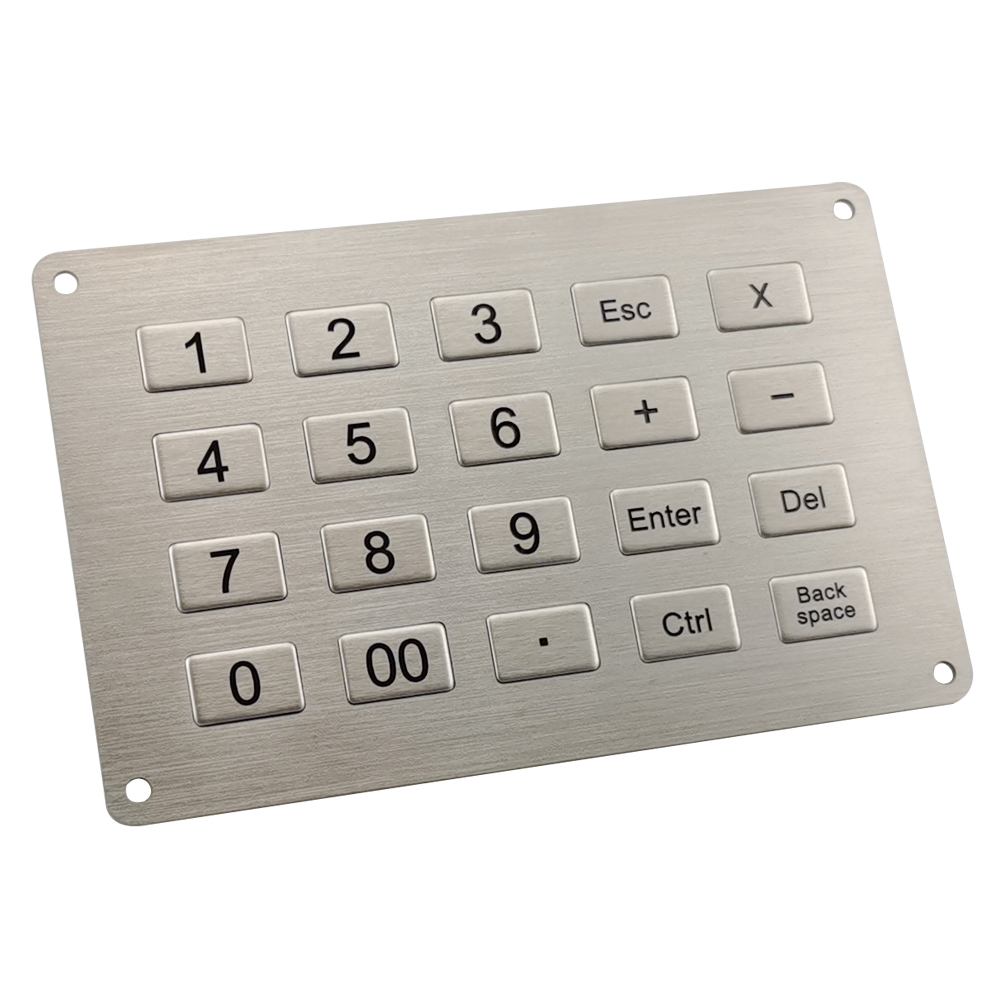
Help guests find their booking without hesitation
The moment of arrival is not the time for a confusing input screen. If your software asks for a reservation number, the keypad should make entering it straightforward. We can discuss a compact numeric arrangement or a layout with letters when the booking format requires them. Function keys can be placed where guests expect to confirm an entry or correct a mistake. We will review the wording on those keys against the prompts on your display. That small connection between screen and hardware matters: guests should know what to press next without looking around for help.
Make room for the rest of the journey
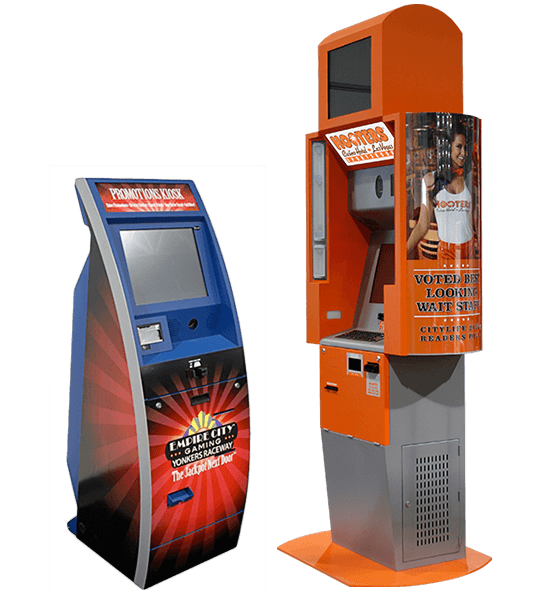
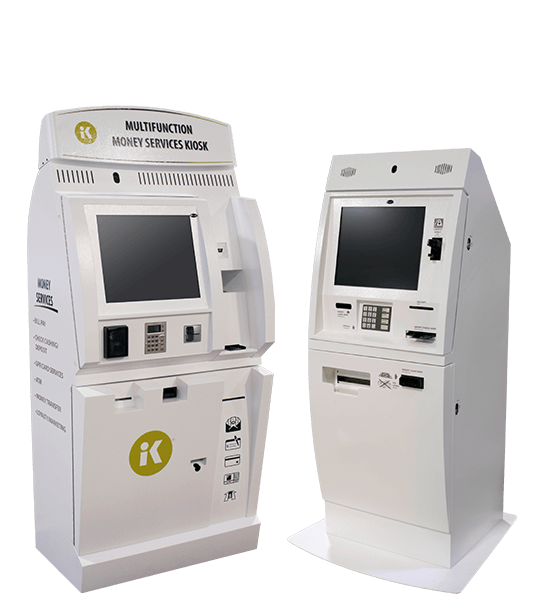
A self check-in kiosk often brings several actions into one enclosure. A guest may scan an ID, confirm a booking, complete a payment, and collect a room key. The keypad needs a useful position among those devices, without crowding the screen or getting in the way of a scanner or card dispenser. Keypado can work from your fascia drawing to review panel size, fixing points, available depth, and cable exit. We manufacture the keypad as a component of that journey. Your software and other devices remain responsible for the services they perform.
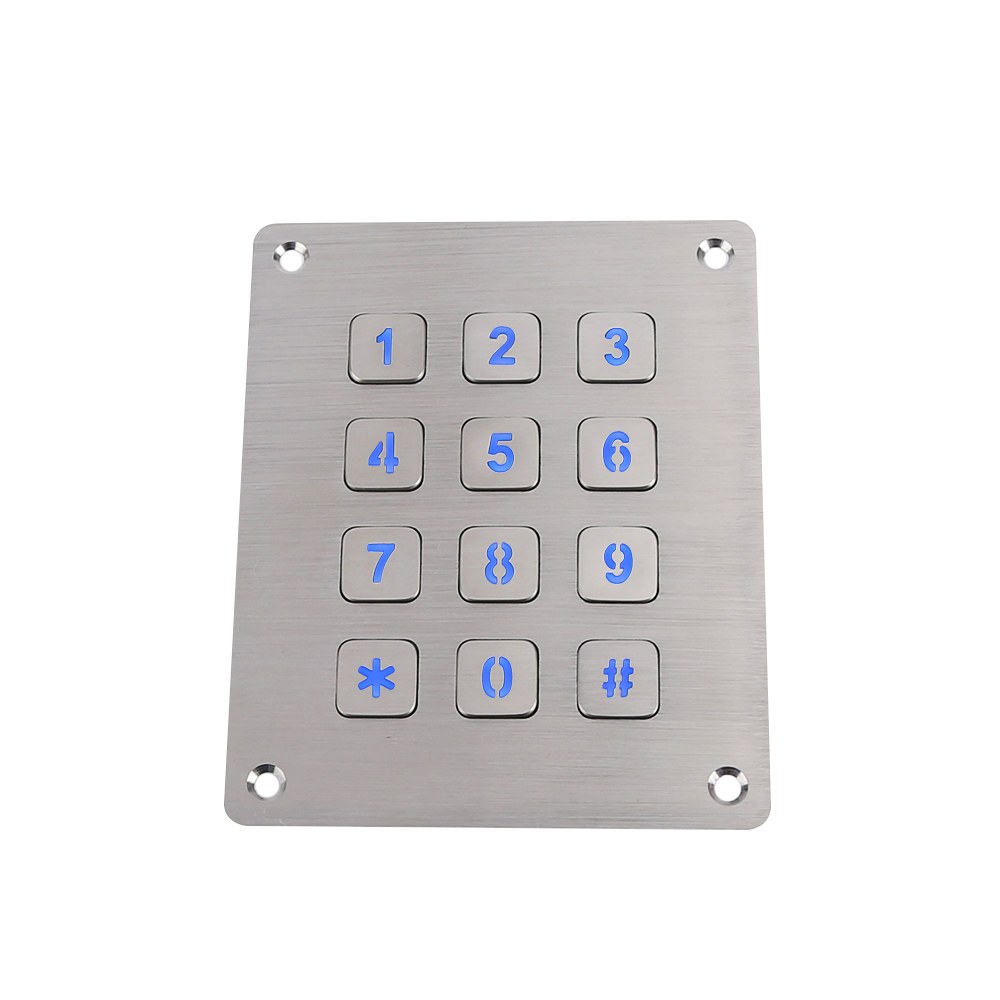
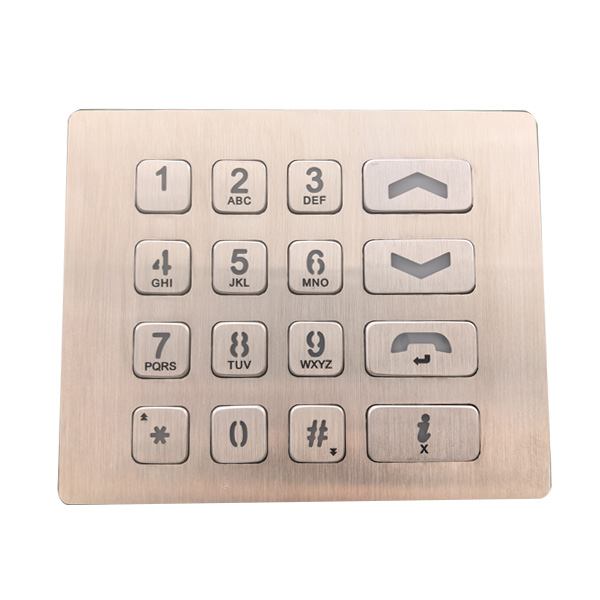
Choose a surface guests can use confidently
Guests may reach the terminal after a long trip, carrying luggage or trying to check in quickly. Clearly separated metal keys give them a physical point of contact and a distinct press for each input. We can review key shape, spacing, panel finish, and markings against the appearance of your kiosk. If tactile features are part of your accessibility plan, bring those requirements into the design discussion early. The keypad can contribute to a more usable terminal, but the accessibility of the finished kiosk also depends on its screen, software, placement, and other controls.
Get the connection right before rollout
A keypad that looks right still needs to send the right input. Tell us whether your system expects a scanned key matrix, USB input, or another specified interface so we can assess the appropriate design. The key map, pin assignment, connector, and any lighting supply should be recorded in the approved documentation. A sample installed in your kiosk lets your team test each key against the live check-in flow. This is especially valuable if you make terminal variants for different properties: similar looking panels should never leave your assembly team guessing about their wiring.
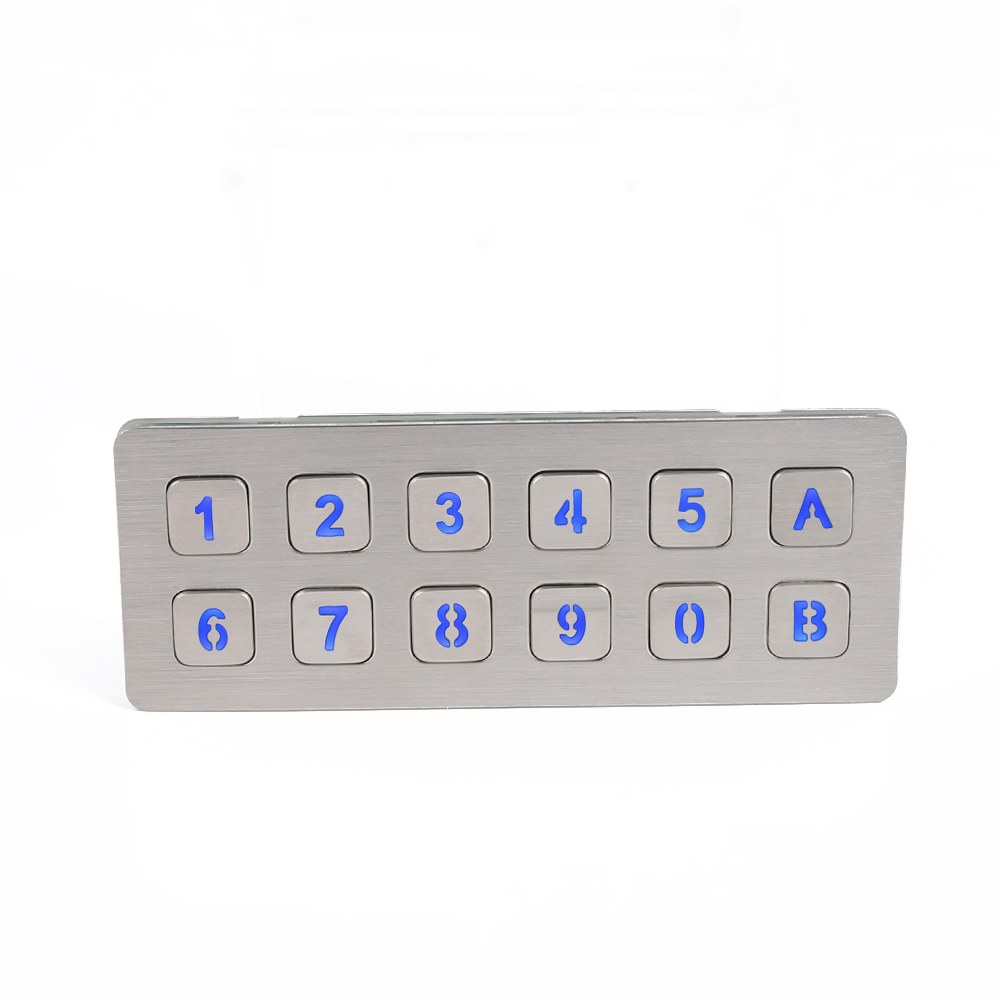
From guest journey to production
We work through the decisions that affect both the person using the kiosk and the team building it.
Show us the check-in flow.
Tell us what a guest needs to enter and what the screen shows at each step. A reservation number, access code, or confirmation action may call for different keys. Share your kiosk drawing and indicate where the keypad sits in relation to the display, ID scanner, payment terminal, and card dispenser. We will also ask about the controller interface, installation location, and expected quantity. This gives us a clearer starting point than choosing a keypad by its number of keys alone.
Review the keypad design.
We can discuss key positions, labels, metal finish, panel dimensions, and mounting with your product team. Your engineers can then check the proposed key map, output, cable, and connector. If you want illuminated keys or tactile features, those details belong in the review before sampling. The aim is to agree on what guests will see, what your software will receive, and how the keypad will fit into the enclosure. Drawings provide a shared reference for those decisions.
Try a sample in the kiosk.
Install the sample and run through a realistic arrival. Enter a booking number, correct an error, and complete each action that uses the keypad. Check whether the legends match the display, whether every key produces the expected input, and whether nearby devices remain comfortable to use. Your assembly team should also check fixing access and cable routing. Record any changes to the panel, markings, or electrical details before approving the version intended for production.
Keep each version clear.
Once the sample and documentation are approved, production can follow the agreed key layout, materials, dimensions, and connections. If one hotel brand uses a different reservation format or another kiosk model needs a different panel, those variations should be identified separately. This helps your team order, assemble, and service the correct keypad for each terminal. It also gives future orders a defined reference without assuming that every check-in kiosk uses the same guest flow.
Preguntas frecuentes
Yes. We can develop a metal keypad around the information guests enter and the space available on your kiosk. Share the guest flow, fascia drawing, and controller requirements so we can review the design with you.
Yes, if your check-in software supports booking lookup through key entry. We can discuss the keys needed for your reservation format and match their output to the input your system expects.
That depends on the codes your guests receive. A numeric keypad may be enough for digit-only bookings, while an alphanumeric format calls for a different input layout. Send us a few sample code formats so the key arrangement can be planned accurately.
Yes. Those functions can make it easier for guests to confirm an entry or recover from a mistake. We will review the labels and key positions alongside the instructions on your screen.
That is an important part of the mechanical review. Send the kiosk fascia drawing with the positions of the other devices so we can discuss panel dimensions, mounting, and cable routing.
A standard custom keypad should not be treated as a secure payment PIN pad. If guests enter a payment card PIN, that step requires an appropriate payment device; we can plan the check-in keypad around its position in the kiosk.
We can discuss tactile key details, markings, spacing, and placement requirements for your project. Accessibility must be evaluated across the complete terminal, including software, audio, reach, and installation, so the keypad alone cannot establish compliance.
Illumination can be discussed when a kiosk will be used in a dim lobby or after hours. Tell us the visibility you want and the power available so it can be considered in the electrical and mechanical design.
Share the input interface your computer or controller accepts, along with any existing wiring or key map. We can review the proposed connection and then have your team verify every key with a sample in the actual kiosk.
A kiosk drawing, required key functions, controller details, installation conditions, and estimated quantity are the best starting points. If you have an existing keypad or a mockup of the guest screen, include those too. They help us understand both the physical fit and the intended interaction.
Algunos datos interesantes
Colaboración con los socios mundiales en

 English
  Deutsch
  Français
  Polski
  Português do Brasil
  Español
  日本語
日本語  Русский
  العربية
  Italiano
  Nederlands
  Türkçe
  한국어
한국어