
Key spacing for industrial metal keypads requires a minimum of 19mm center-to-center distance for gloved-hand operation, with tactile separation preventing accidental activation. Keypado, based in Yuyao, Zhejiang, designs layouts using 12mm actuator diameters and raised borders, ensuring reliable input accuracy in harsh industrial environments.
Key spacing on industrial metal keypads depends on key size, glove use, and mounting layout, with center-to-center distances sized to prevent mispresses under vandal-resistant, IP-rated housings. Keypado engineers custom layouts with CAD review, balancing tactile separation against panel footprint for kiosks, access control, and fuel dispenser applications requiring rugged, field-tested reliability.
What Do You Need Before Spacing Design?
Four inputs come before any spacing decision: the target application, the layout requirements, the enclosure’s environmental rating, and a clear picture of hard-key design complexity. Skip any of these, and the finished panel risks misfires, missed keys, or field failures that no amount of clever engineering can fix later.
Get a Custom Metal Keypad Quote From Keypado
What application will the keypad serve?
Access control panels, vending machines, lockers, and fuel dispensers each place different demands on a keypad. A fuel dispenser gets touched by gloved hands in the rain. A locker keypad gets jabbed by frustrated users in a hurry. Spacing decisions should start with this use case, not with a generic template.
What layout and interface details are already fixed?
Layout, interface type, and engraving choices all shape how much room exists between keys before spacing gets finalized. Custom layouts, interface options, and engraving are design inputs engineers can lock in early, giving the spacing plan real boundaries to work within. Settling these details first prevents costly rework once tooling begins.
Beyond application and layout, three baseline factors deserve a checklist before spacing gets drawn:
Enclosure rating — vandal-proof, IP-rated metal construction sets the physical envelope spacing has to respect.
Hard-key complexity — tactile feedback, travel distance, and switch type all influence how tight or loose spacing can safely go.
Field performance expectations — aerospace, medical, and industrial equipment all demand keypads that perform reliably once installed, so the complexity of hard-key design needs full attention before layout gets locked.
With application, layout inputs, construction rating, and hard-key complexity nailed down, spacing design has a solid foundation instead of a guessing game.
How Many Keys Should You Plan First?
Key count comes first because it dictates every spacing decision that follows. Standard metal keypads generally run 12 to 16 keys, with variations depending on the application at hand. That range gives designers a practical starting grid before finalizing panel dimensions or button diameter.
Picking a key count is not just a numbers exercise. The total affects functionality, shapes the user experience, and determines whether a layout actually suits the task it’s built for. A fuel dispenser interface and an access control panel rarely need the same button arrangement, even though both might land in that 12-to-16 range.
What layout should an OEM start with?
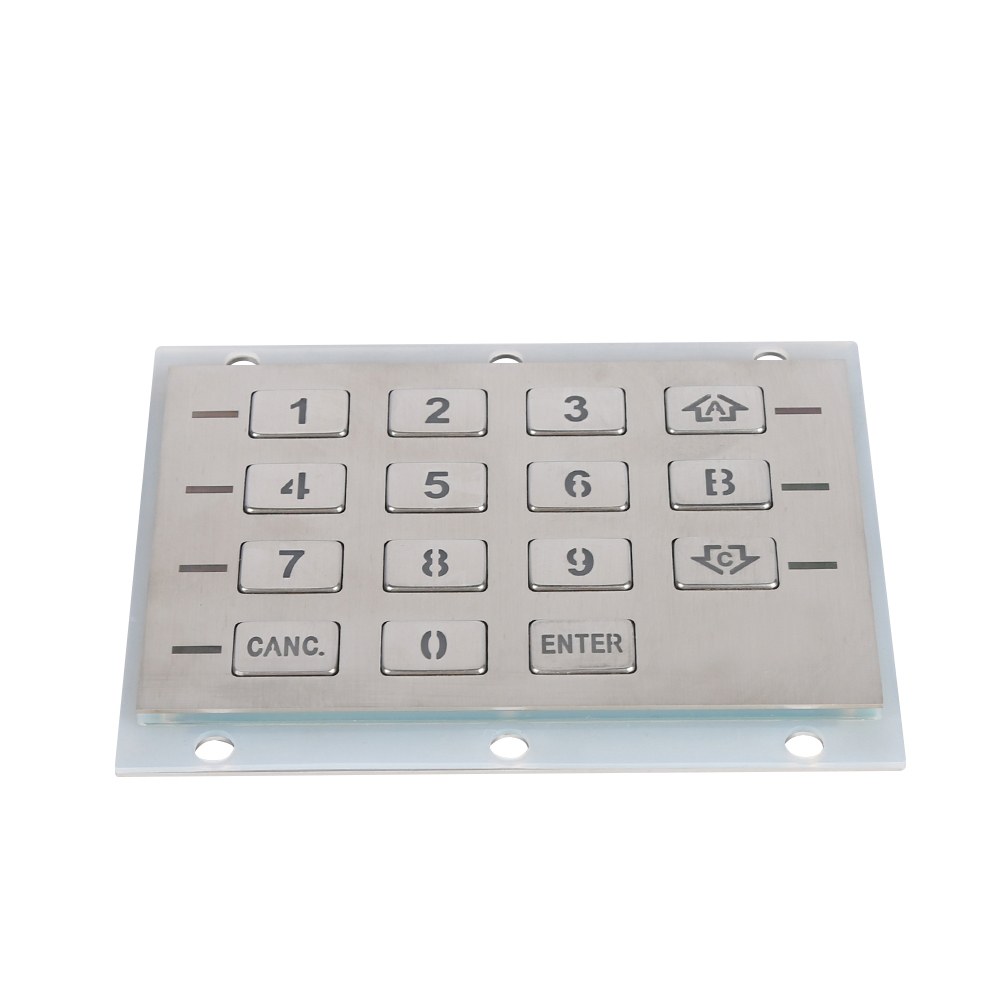
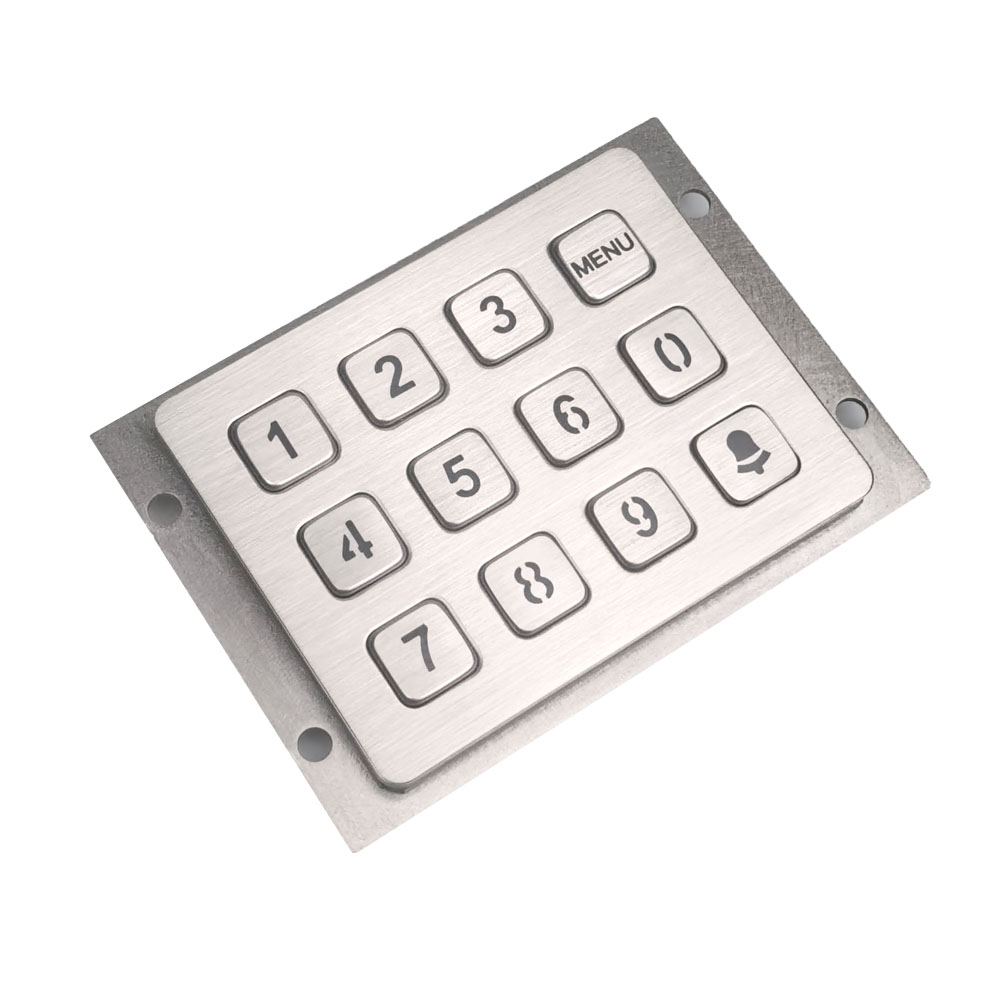
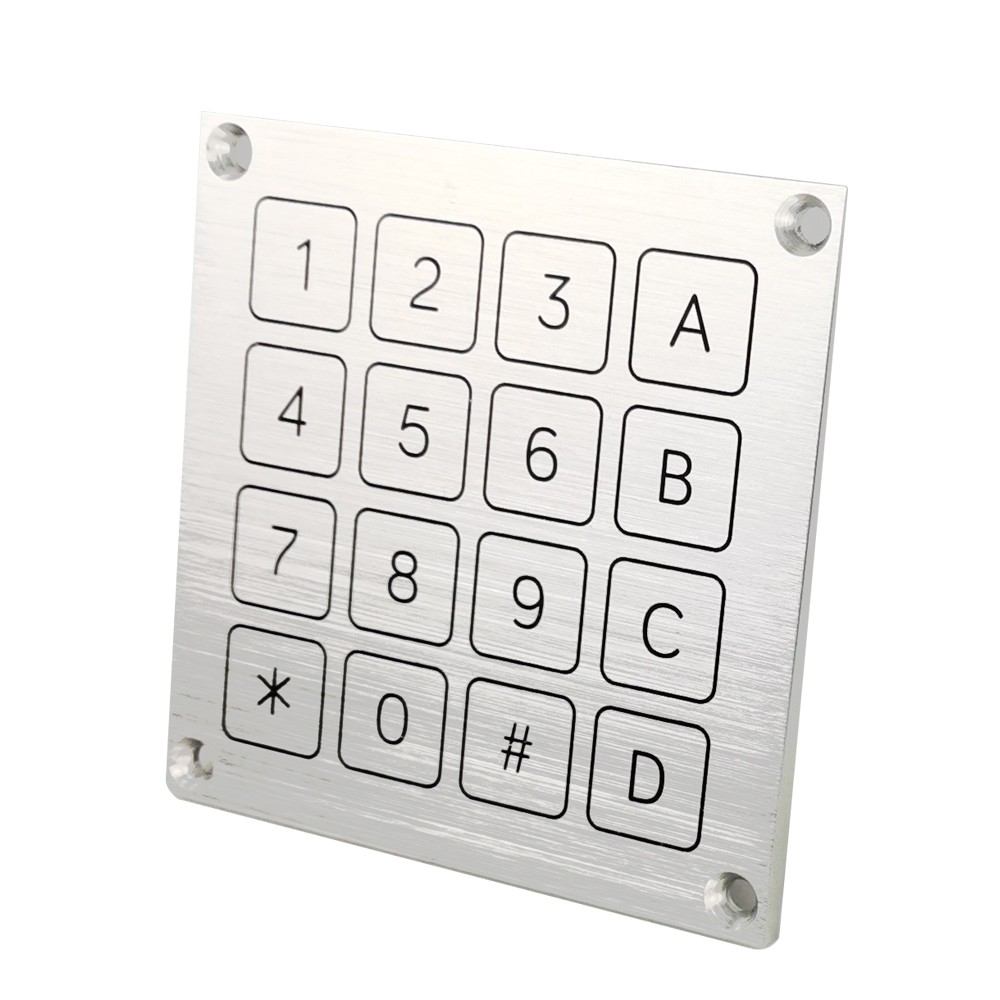
Many industrial applications default to a 3×4 or 4×4 grid. Keypado supports custom versions of both to fit a designer’s panel footprint. These layouts work as reliable starting templates rather than fixed rules.
3×4 grid: common for numeric-only entry, PIN pads, and lockers
4×4 grid: adds function or navigation keys alongside numbers
Custom variations: adjusted key count and metal keypad key spacing to match panel size and available mounting depth
Does key count really affect usability?
Yes. Matching the number of keys to ergonomic needs helps users find and press the correct button without hesitation, which directly improves operating efficiency. Too few keys crowd multiple functions onto single buttons. Too many keys shrink individual targets and invite mis-presses, especially with gloved hands.
Panel size, mounting depth, and the operator’s expected interaction speed should all inform the initial key-count decision, well before spacing or engraving details enter the conversation.
Get a Custom Metal Keypad Quote From Keypado
How Do You Set the Right Key Pitch?
Key pitch — the center-to-center distance between keys. Comes down to matching finger clearance, actuation force, and PCB layout to the panel’s real-world use. Getting it wrong costs more than looks: cramped spacing invites mispresses. Excessive gaps waste panel real estate an OEM enclosure can’t spare. A deliberate, step-by-step process avoids both traps.
Start with the grid, then challenge it. Standard layouts follow a familiar grid, but some designers treat that grid as a constraint rather than a rule. Tighter, custom pitches bring keycaps closer together, a mindset borrowed from mechanical keyboard design that applies directly to industrial keypad spacing.
Account for millions of press cycles. Vandal-proof metal keys are built to survive heavy, repeated use over years of service. Spacing has to leave enough finger clearance and actuation room so that force delivery stays consistent press after press, not just on day one.
Design around the output method. USB and matrix output configurations need clean controller integration, and row-to-column spacing on the PCB directly affects how easily that wiring comes together. Pitch decisions made early save rework later in the layout process.
Protect tactile feedback. Metal keypad key spacing has to preserve the crisp response that mechanical metal keypads deliver through metal dome membrane technology. Push keys too close together and that dependable, clear feedback starts to blur between adjacent presses.
What Happens If Key Spacing Is Too Tight?
Tight spacing raises the odds of accidental double-presses, especially under gloved or hurried operation. It also strains the metal dome mechanism. Neighboring keys can interfere with clean actuation and dull the tactile response over time.
Does Output Interface Change Spacing Needs?
Yes — matrix and USB layouts route rows and columns differently across the PCB. That routing shapes how tight the pitch can go. Planning the interface before finalizing spacing keeps integration simple and avoids late-stage redesigns.
How Do You Validate Spacing With Prototypes?
Physical samples answer questions a CAD file cannot. Engineers confirm metal keypad key spacing through hands-on testing, checking finger clearance, glove compatibility, and sealed performance before locking in a production layout. Skipping this step risks discovering spacing errors after tooling is already cut, an expensive mistake in any OEM build cycle.
Prototyping follows a clear sequence:
Order a low-MOQ sample built to the proposed spacing and layout, typically ready within about seven days.
Test the sample under real operating conditions, including gloved hands, angled approach, and repeated presses.
Confirm IP65+ sealing holds against dust and water ingress once keys are spaced and mounted as designed.
Compare results against layouts already proven across deployments of 100,000-plus units, using them as a benchmark for what holds up at scale.
Adjust spacing based on findings, then request a revised sample before committing to full production tooling.
Why Test on Real Hardware Instead of Just CAD Models?
Screen renderings miss tactile and environmental factors that only show up in the field. A finger that clears a digital model easily might still miscue on a sealed metal panel with texture, rebound, and temperature swings at play. Physical testing catches sealing gaps, accidental double-presses, and glove interference that spacing calculations alone won’t reveal.
What Role Does OEM Support Play in This Process?
OEM/ODM engineering support shortens the back-and-forth between spacing changes and working samples. Direct factory involvement during prototyping shrinks development time and strengthens field reliability once the product ships. Product managers gain a faster path from concept to a spacing decision backed by physical proof, not just simulation. That combination of fast sampling and proven layout data turns prototyping from a guessing game into a repeatable validation step.
What Spacing Mistakes Should You Avoid?
Finalizing key layout without testing for metal keypad key spacing ranks as the most common misstep OEM teams make. Cramming keys too close together sacrifices the robustness, vandal resistance, and consistent operation that rugged panels demand. A design that looks clean on paper often fails once gloved fingers or repeated impacts enter the picture.
Get a Custom Metal Keypad Quote From Keypado
Another mistake: ignoring capacitive technology when panel space runs tight. Touch-sensitive capacitive metal keypads offer sleek, modern interfaces that don’t require the same physical clearance as mechanical dome keys. Ruling them out early can force awkward compromises on spacing that a different technology would have solved.
Does Spacing Really Affect Long-Term Reliability?
Yes. Panels engineered for harsh, high-use environments depend on spacing choices that hold up over time, not just at first inspection. Keypado’s engineering team, based in Yuyao, Zhejiang, China, works directly with OEMs to review these layouts before production begins.
How Do Spacing Decisions Get Validated Across Industries?
Spacing choices get proven through real-world deployment, not guesswork. Keypado’s track record with 200-plus clients worldwide reflects layouts tested across access control, kiosks, and vending equipment. Avoiding these mistakes early means:
Confirming clearance for gloved or high-traffic use
Weighing capacitive options before locking mechanical layouts
Reviewing designs with engineers who’ve seen field failures firsthand
Getting key spacing right transforms your industrial keypad from frustrating to functional—and that’s worth the upfront design effort. Whether you’re building access control systems, vending machines, or rugged field equipment, thoughtful spacing keeps operators comfortable and errors low, even in gloves or harsh conditions. Work through those spacing calculations, test your layouts, and don’t hesitate to lean on engineering expertise during the design phase. Your end users will thank you for the difference it makes.
FAQ
What factors must be settled before designing key spacing?
Spacing decisions require four inputs: the target application, layout requirements, the enclosure’s IP rating, and hard-key design complexity. Keypado, based in Yuyao, Zhejiang, China, locks these in early through CAD review before finalizing panel dimensions.
How many keys do standard industrial metal keypads include?
Standard metal keypads generally run 12 to 16 keys, with variations depending on the application. This range gives designers a practical starting grid before finalizing button diameter and panel dimensions.
Which grid layouts work best for industrial keypad panels?
A 3×4 grid suits numeric-only entry, PIN pads, and lockers, while a 4×4 grid adds function or navigation keys. Keypado supports custom variations of both to match panel size and mounting depth.
 English
  Deutsch
  Français
  Polski
  Português do Brasil
  Español
  日本語
日本語  Русский
  العربية
  Italiano
  Nederlands
  Türkçe
  한국어
한국어