
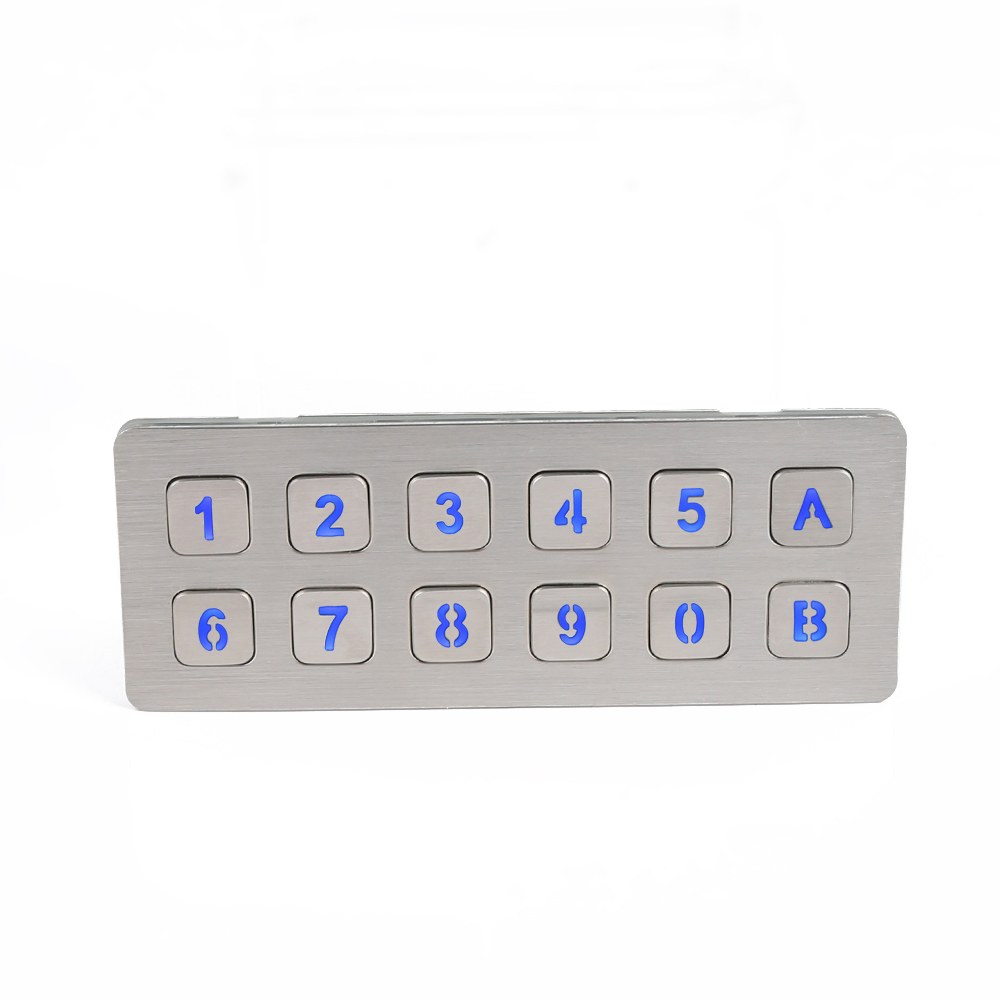
Customizing backlit metal keypads starts with defining the key layout, interface type, legend style, LED placement, and mounting requirements, then working with the manufacturer to balance uniform illumination, clear labeling, durable IP-rated metal construction, and reliable circuit integration for your project.
What Do You Need Before Starting?
Preparing to customize backlit metal keypad designs requires three foundational elements: a durable metal base, a clear specification plan, and a sampling strategy. Skipping any one of these steps adds costly rework cycles to the project.
Get a Custom Backlit Keypad Quote From Keypado
What kind of base construction does a backlit metal keypad need?
The metal construction must be vandal-proof and IP-rated to hold up in demanding environments like fuel dispensers, kiosks, and access control panels. Backlighting components sit behind the keycaps. The housing needs to maintain structural integrity under heavy use while still allowing light to pass through engraved legends cleanly. A flimsy base undermines both the illumination quality and the long-term durability of the device.
What specifications should OEMs lock down before customization begins?
OEM teams should finalize three core decisions before engaging a manufacturer:
Layout — Confirm the key count, arrangement, and any function zones required by the end application.
Interface — Choose the communication protocol (USB, matrix, or PS/2) that matches the host system.
Engraving and backlighting style — Decide on legend depth, character size, and whether uniform or zone-based illumination fits the use case.
Getting these details settled early prevents mid-project redesigns that delay delivery.
Low MOQ sampling with fast turnaround makes it practical to validate a physical prototype before committing to full production runs. OEMs can test fit, feel, and illumination quality on a small batch first. A smart move that protects both budget and timeline.
How Do You Choose the Right Backlight Technology?
Choosing the right backlight technology starts with matching the lighting method to the physical constraints of the enclosure. Backlight design directly affects form factor, brightness uniformity, and long-term durability in demanding industrial environments.
Traditional backlighting approaches add bulk. Traditional keyboard backlights introduce unnecessary weight and thickness. A real problem when OEMs are working with tight enclosure tolerances or slim panel designs. That extra mass compounds over a full product run, creating fitment headaches down the line.
Modern LED light guide technology solves this. Follow these steps when evaluating backlight options for a metal keypad project:
Measure the available depth inside the enclosure before selecting any backlight method — bulk is the first disqualifier.
Evaluate brightness uniformity across the full key surface, not just the center keys, since uneven lighting frustrates end users in low-light conditions.
Compare form factor impact between traditional backlights and ultra-thin light guide solutions to confirm the chosen method fits the target housing.
Confirm the light extraction pattern matches the keypad layout, so illumination reaches every key zone without hot spots or dark corners.
Review customization compatibility — backlighting should integrate cleanly with custom layouts, engraving, and interface choices rather than forcing design compromises.
What Makes LED Light Guides Better for Slim Industrial Keypads?
LED light guides deliver bright, even illumination across the entire keypad surface without adding significant bulk to the assembly. Ultra-thin light guide designs extract light precisely where the layout demands it, keeping the overall form factor tight — a critical advantage for flush-mount or panel-integrated installations.
Can OEMs Customize Backlighting Alongside Other Keypad Features?
Keypado offers backlighting as part of a broader custom configuration package that also covers layouts, interfaces, and engraving. OEM clients can align backlight color. Intensity with other design choices in a single development cycle, reducing iteration time and keeping the project on schedule.
How Do You Configure Layout, Engraving, and Interface?
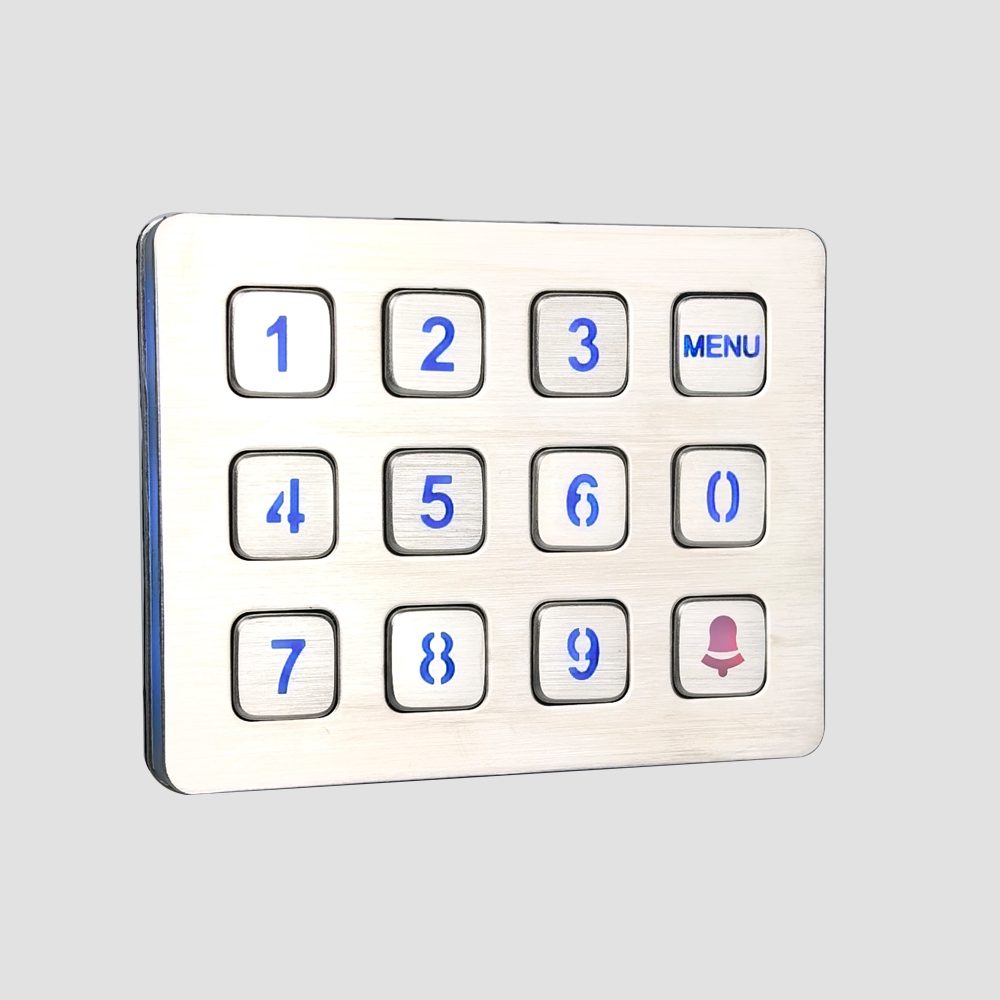
Configuring a customize backlit metal keypad starts with three core decisions: panel layout, interface protocol, and surface finish. Keypado supports custom 3×4 and 4×4 layouts, multiple interface outputs, and engraving. All coordinated through factory-direct engineering during the production process.
Get a Custom Backlit Keypad Quote From Keypado
What Layout Options Are Available for OEM Panel Integration?
OEM clients choose between custom 3×4 and 4×4 grid layouts to match specific panel cutouts and space constraints. Keypado engineers review panel drawings directly, so the keypad footprint fits the first time. No guesswork, no costly rework.
Follow these steps to lock in the right configuration:
Submit panel dimensions. Send the equipment panel drawing or CAD file to Keypado’s engineering team for a free CAD review.
Select a grid layout. Choose a 3×4 or 4×4 key arrangement based on the number of functions the equipment requires.
Choose an interface protocol. Specify USB, matrix, or PS/2 output to match the host controller — all three options are available for straightforward integration.
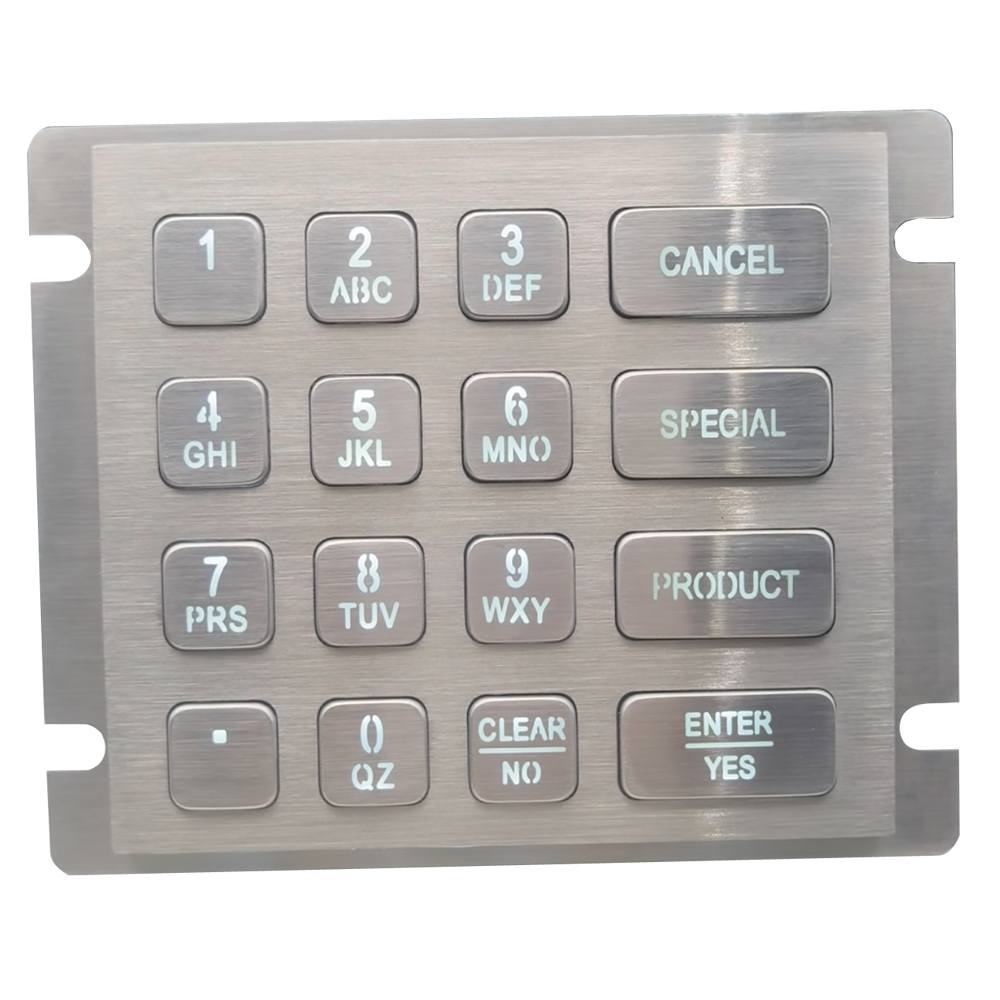
Define surface finish and engraving. Decide whether keys need laser engraving, backlighting, or both. Engraving and backlighting are offered together, so OEMs don’t have to choose one over the other.
Review the sample. Keypado produces a physical sample for approval before full production begins, keeping surprises off the production floor.
Does Factory-Direct Support Really Eliminate Extra Costs?
Factory-direct engineering support means no distributor or reseller sits between the OEM client and the manufacturer. Keypado provides free CAD review and customization without intermediary markups, so the price reflects actual production costs. That structure keeps budgets predictable and speeds up the back-and-forth that typically slows custom projects down.
How Do You Sample, Test, and Validate Your Design?
Sampling, testing, and validating a customize backlit metal keypad design follows a structured process that moves from pilot units through full production inspection. Keypado supports low minimum order quantities and fast sampling. OEM clients can hold a physical unit in hand before committing to a full production run.
What Happens During the Sampling Stage?
Keypado produces pilot-run samples that match the final production specification — same metal construction, same backlight configuration, same interface wiring. Clients review the sample against their layout drawings, check key travel and illumination uniformity, and confirm engraving depth. Short lead times on sampling mean design feedback loops stay tight, which cuts overall time to market.
Here’s a practical sequence for moving through validation efficiently:
Submit the CAD files and layout spec to Keypado’s engineering team for a free review before any tooling begins.
Request a pilot sample at low MOQ to verify physical dimensions, backlight brightness, and interface compatibility with the host system.
Conduct environmental stress testing on the sample — confirm that IP65+ sealing blocks dust and water ingress under conditions that mirror real deployment environments.
Run a press-cycle endurance check to confirm the metal keys perform reliably across millions of actuations, which is the rated durability for vandal-proof metal construction.
Review the batch inspection report supplied by Keypado under ISO 9001 certification before approving the production order.
How Does Keypado Ensure Consistent Quality Across Production Batches?
ISO 9001 certification governs Keypado’s manufacturing process from incoming materials through final shipment. Every production batch ships with a formal inspection report, giving OEM clients documented evidence of quality conformance. That paper trail matters enormously for long-term deployments where field reliability is non-negotiable.
What Are the Most Common Customization Mistakes to Avoid?
Skipping proper design validation and choosing the wrong backlight architecture are the two errors that derail most customize backlit metal keypad projects. Layout mismatches and oversized lighting assemblies cause costly rework, delayed launches, and field failures that damage an OEM’s reputation.
Get a Custom Backlit Keypad Quote From Keypado
Here are the most common mistakes — and how to sidestep each one:
Skip the CAD review. Proceeding to production without a validated layout almost always produces dimension mismatches. Keypado provides free CAD review as part of factory-direct engineering support, catching conflicts before tooling costs are committed.
Choose a bulky backlight solution. Traditional backlight assemblies add unnecessary weight and thickness to a device. Industrial panel integration demands slim profiles, and oversized lighting components create mounting headaches downstream.
Ignore interface compatibility. Locking in a keypad layout without confirming the host system’s interface requirements forces expensive redesigns late in the development cycle.
Order without pilot testing. Skipping a sample run before full production hides defects that only surface under real operating conditions.
Why does CAD validation matter so much before production?
A layout error discovered after tooling is cut multiplies correction costs significantly. Factory-direct engineering support — the kind Keypado delivers without intermediary markups. Resolves dimensional conflicts at the design stage, where changes are fast and inexpensive.
How do OEMs know a supplier can handle large-scale deployment?
Track record is the clearest signal. Keypado’s products are trusted by more than 200 clients across more than 30 countries, demonstrating consistent quality at scale across demanding industrial environments.
Customizing backlit metal keypads doesn’t have to feel overwhelming—it’s really about matching your vision with the right partner who gets what you’re building. When you work with a team that listens to your needs. Walks you through each design choice, from layout to lighting to durability specs, you end up with input devices that work as hard as you do. That’s the kind of collaboration that turns a good project into a great one.
 English
  Deutsch
  Français
  Polski
  Português do Brasil
  Español
  日本語
日本語  Русский
  العربية
  Italiano
  Nederlands
  Türkçe
  한국어
한국어